> ## Documentation Index
> Fetch the complete documentation index at: https://docs.masivo.ai/llms.txt
> Use this file to discover all available pages before exploring further.
# Links settings
> Configure link settings for domains, redirects, app store metadata, and QR branding
## What you'll learn
By the end of this guide, you'll know how to configure global link settings in
Masivo, including custom domains, DNS records, redirects, app store identifiers,
and QR logo branding.
## Step 1: Open links settings
Navigate to **Marketing Automation > Settings > Links**.
This tab controls account-level link behavior used by your short links and QR
flows.
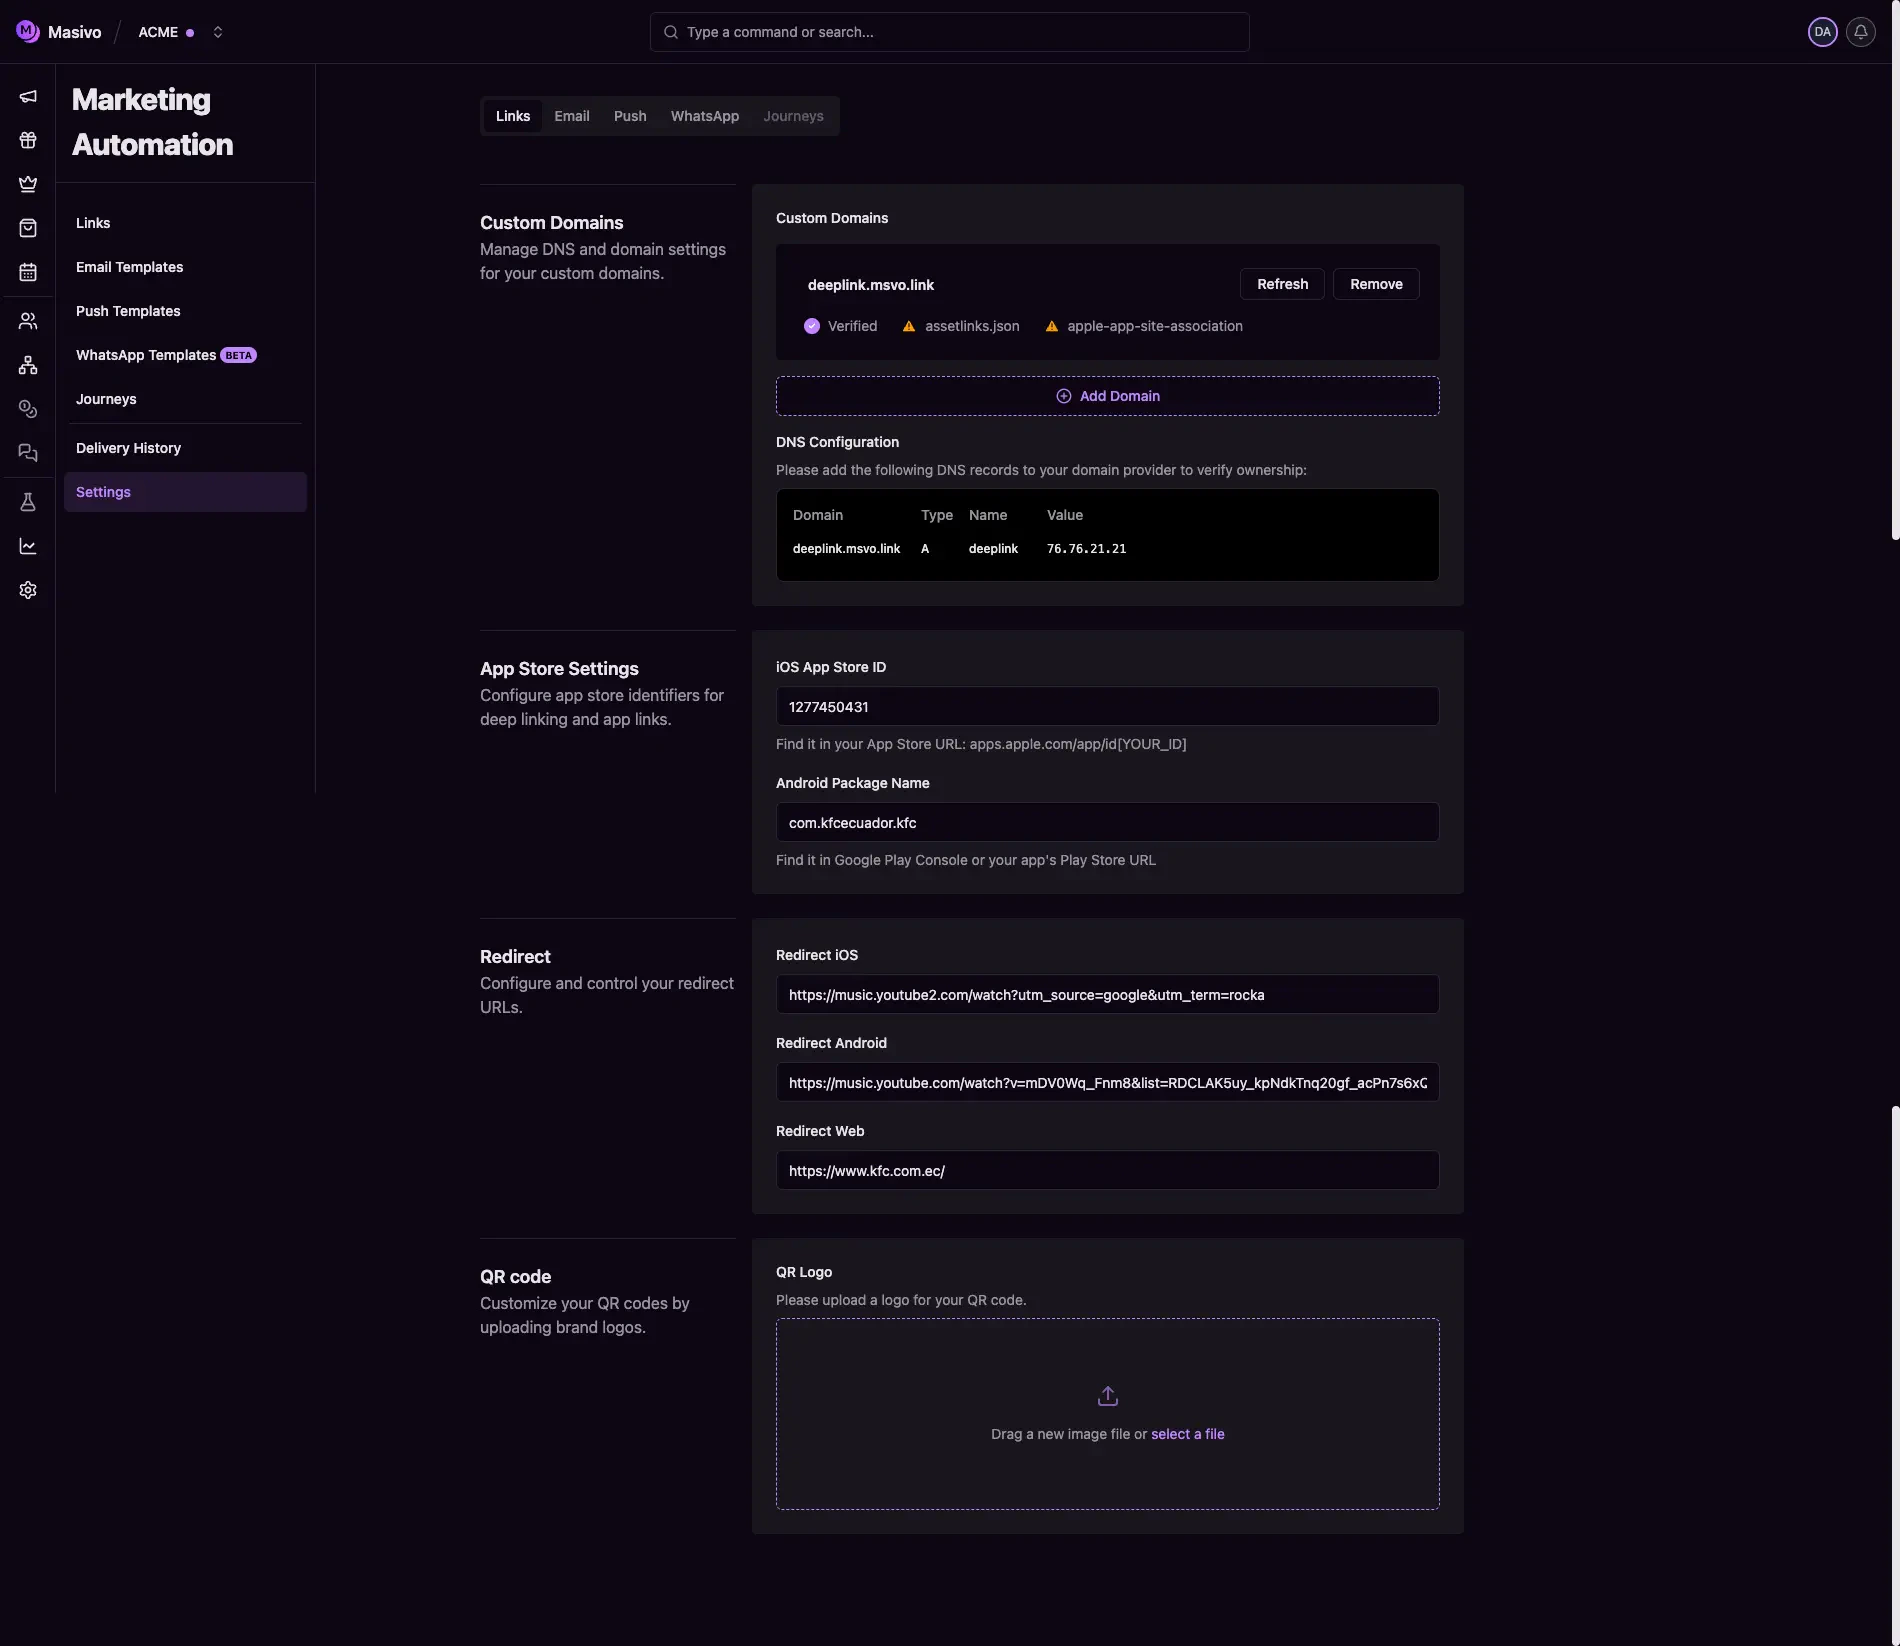
## Step 2: Configure custom domains
In **Custom Domains**, add and manage up to **3 domains**.
Important behavior:
* Domain format must be valid (for example: `links.example.com`).
* Avoid protocols and paths (`https://`, `/path`).
* Use **Refresh** to re-check verification status.
* Remove domains with the **Remove** action.
* For verified domains, you can upload `assetlinks.json` and
`apple-app-site-association`.
Well-known file uploads are allowed for domains already saved in your account
configuration.
 ## Step 3: Add DNS records
Use the **DNS Configuration** table to copy the required records to your DNS
provider.
Masivo shows the records needed to verify ownership and enable app-link
behavior.
## Step 4: Configure app store settings
In **App Store Settings**, define:
* **iOS App Store ID** (numeric ID from Apple App Store URL)
* **Android Package Name** (package identifier from Play Store/console)
These values support deep linking and mobile redirection behavior.
## Step 5: Configure default redirects
In **Redirect**, set fallback URLs for:
* **Redirect iOS**
* **Redirect Android**
* **Redirect Web**
These defaults are applied when a link does not override redirect behavior.
## Step 6: Configure QR logo
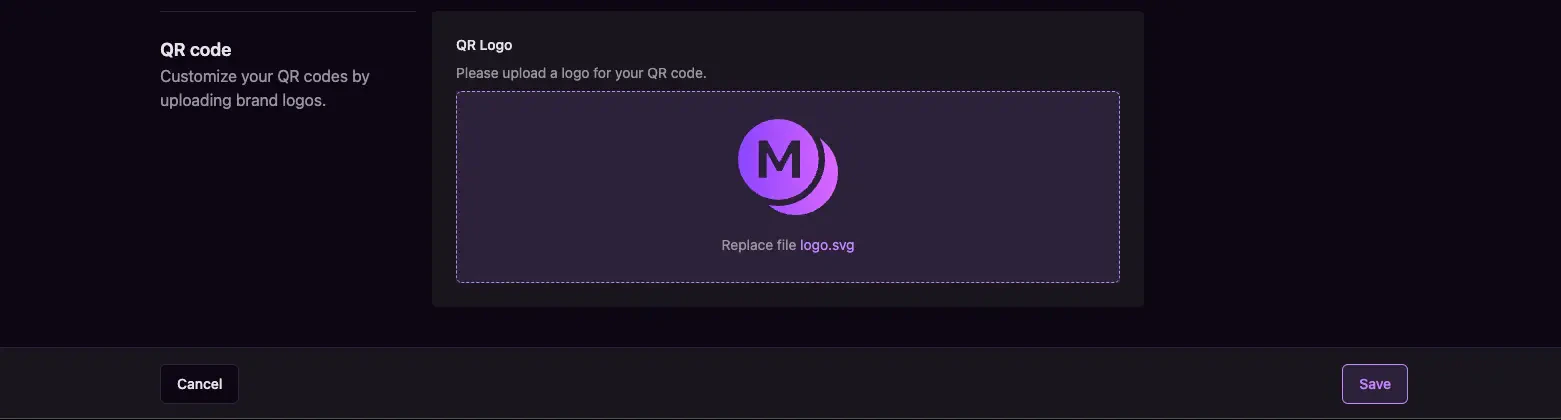
In **QR code**, upload your brand logo for generated QR assets.
Accepted formats follow image upload constraints for settings files.
## Step 3: Add DNS records
Use the **DNS Configuration** table to copy the required records to your DNS
provider.
Masivo shows the records needed to verify ownership and enable app-link
behavior.
## Step 4: Configure app store settings
In **App Store Settings**, define:
* **iOS App Store ID** (numeric ID from Apple App Store URL)
* **Android Package Name** (package identifier from Play Store/console)
These values support deep linking and mobile redirection behavior.
## Step 5: Configure default redirects
In **Redirect**, set fallback URLs for:
* **Redirect iOS**
* **Redirect Android**
* **Redirect Web**
These defaults are applied when a link does not override redirect behavior.
## Step 6: Configure QR logo
In **QR code**, upload your brand logo for generated QR assets.
Accepted formats follow image upload constraints for settings files.
 ## Step 7: Save and validate
Click **Save** in form actions.
Then create or edit a link in **Marketing Automation > Links** and confirm:
* The configured domain appears in domain selector.
* Redirect defaults are applied correctly.
* QR branding reflects your uploaded logo.
## What you've accomplished
You've configured global link settings required for branded domains, reliable
redirects, and QR identity in marketing automation flows.
## Next steps
* Create campaign links with [Links guide](/guides/create-links)
* Configure push prerequisites with [Push settings](/guides/settings/push)
## Step 7: Save and validate
Click **Save** in form actions.
Then create or edit a link in **Marketing Automation > Links** and confirm:
* The configured domain appears in domain selector.
* Redirect defaults are applied correctly.
* QR branding reflects your uploaded logo.
## What you've accomplished
You've configured global link settings required for branded domains, reliable
redirects, and QR identity in marketing automation flows.
## Next steps
* Create campaign links with [Links guide](/guides/create-links)
* Configure push prerequisites with [Push settings](/guides/settings/push)