

Prerequisites
- Account member with
settings:writeto create teams or assign members settings:deleteto remove members
Create a team
1
Open Teams
Go to Settings → Team and select the Teams tab, or navigate directly to
/settings/teams.2
New team
Click New team. Enter a name and optional description.
3
Save
The team is created with
ACTIVE status. Open the team detail page to see assigned members.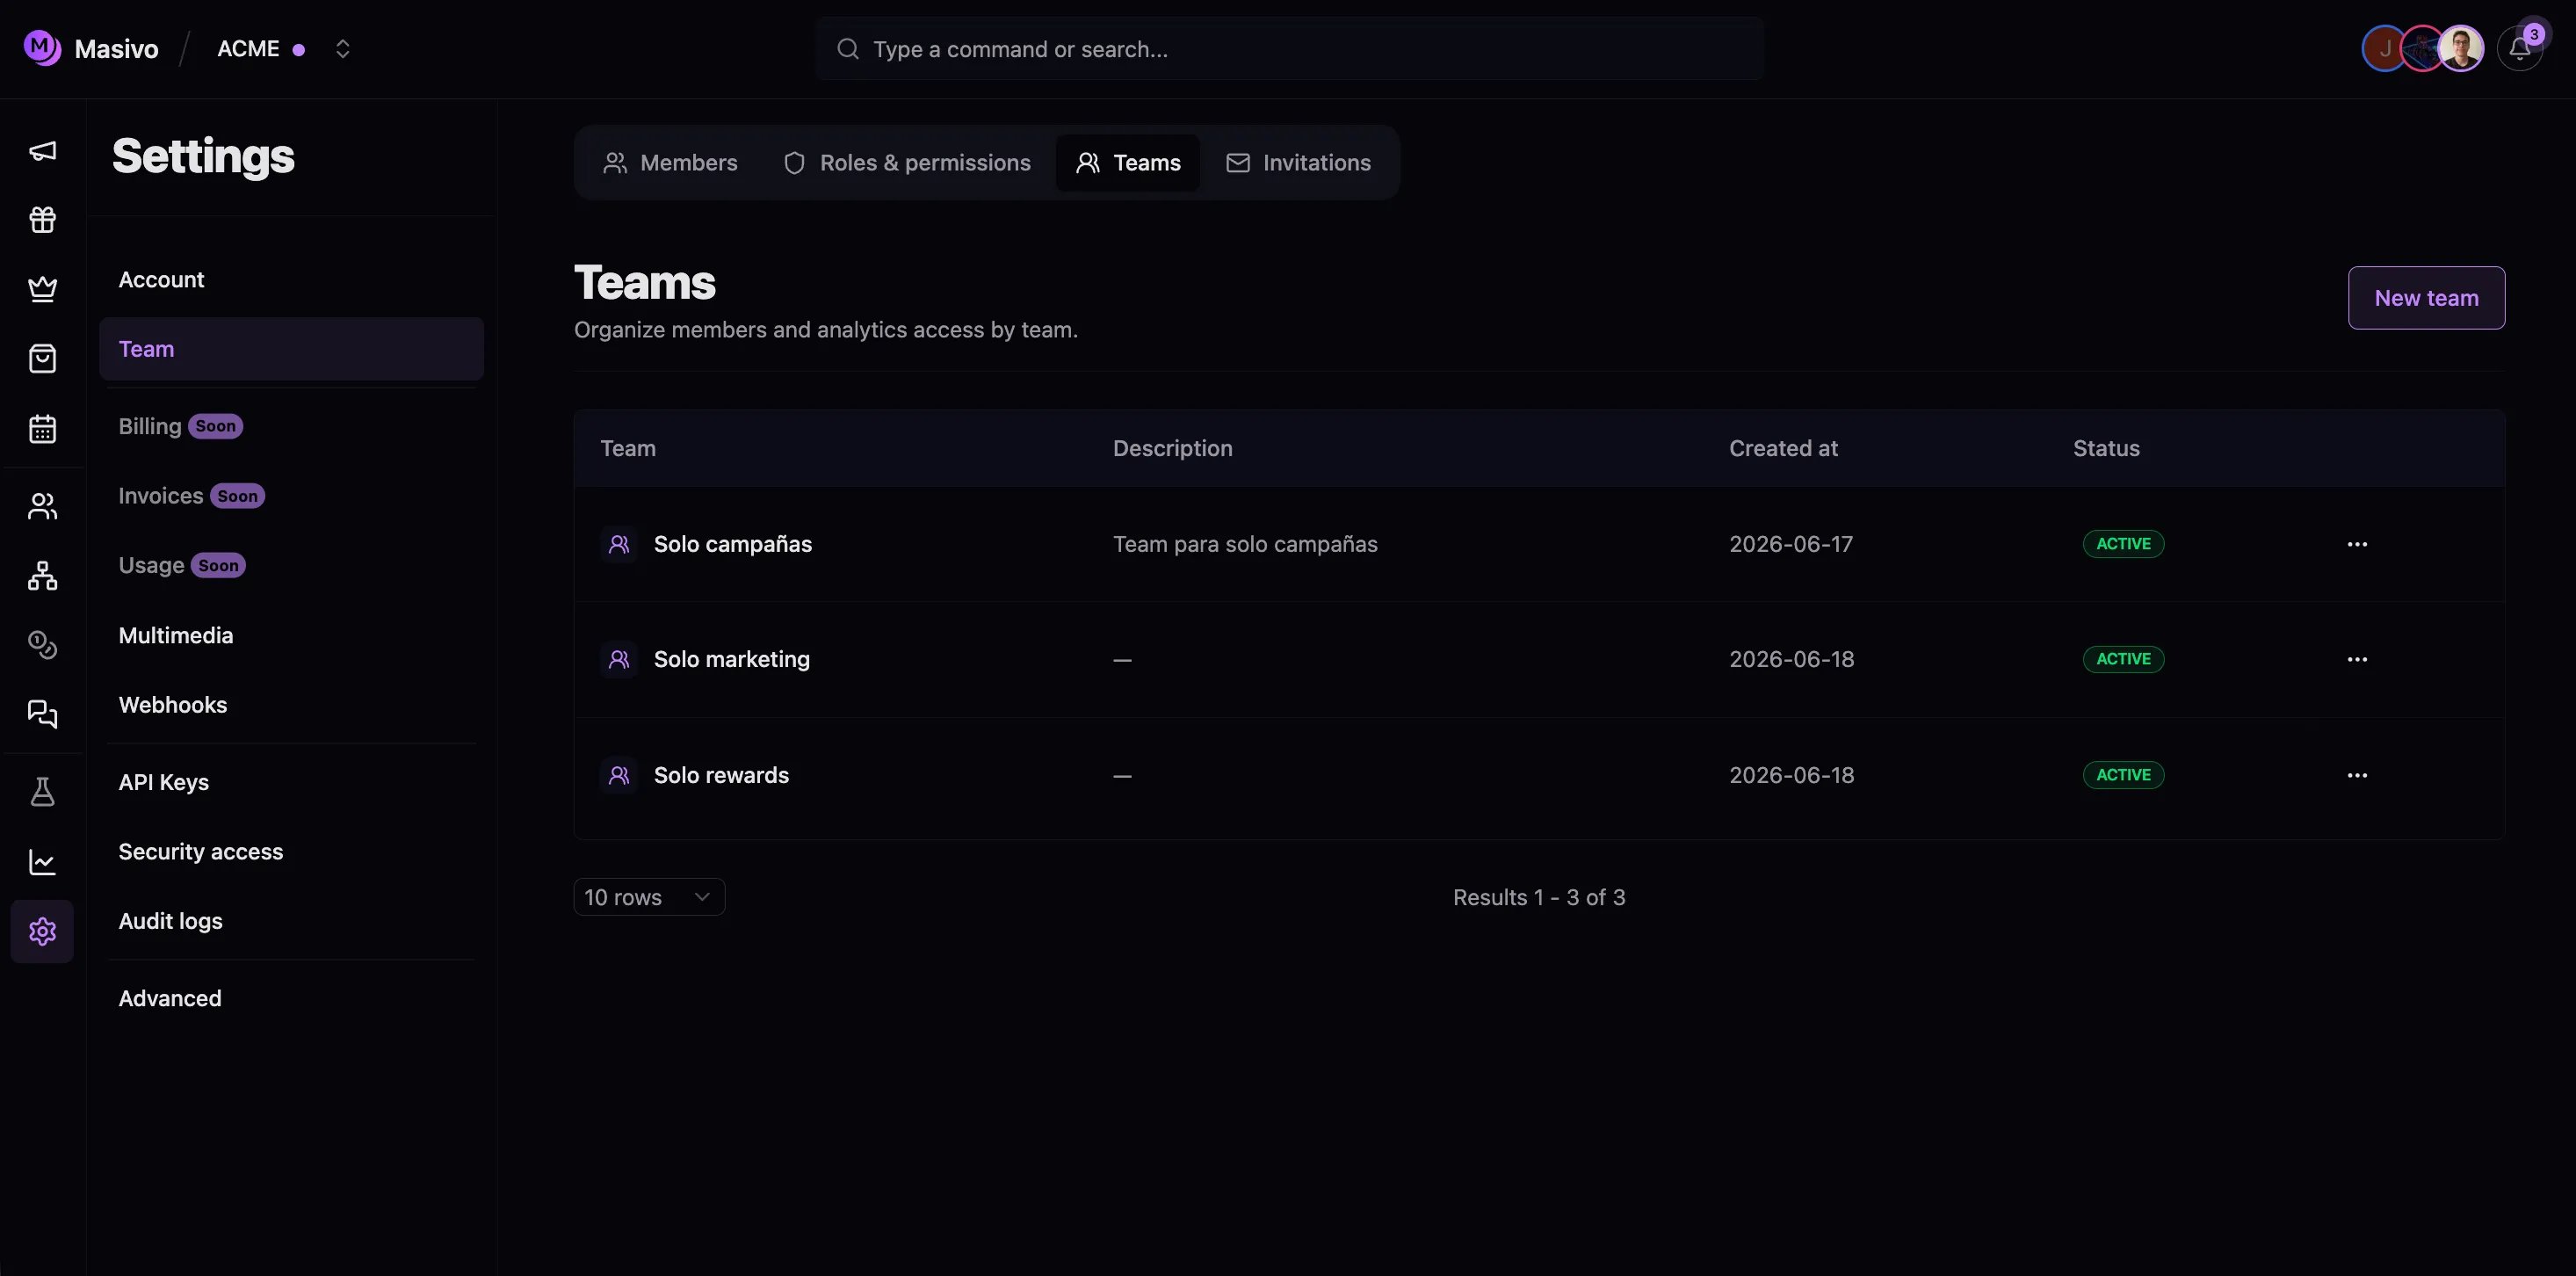
Teams list
Assign members to teams
- Open Settings → Team → Members.
- Find the member row and open the Teams column editor.
- Select one or more teams, or clear all teams for account-wide-only visibility rules.
Scope a resource to teams
When creating or editing a campaign, reward, journey, or marketing template:- Locate the Teams field in the form.
- Select the teams that should see this resource in analytics.
- Leave No teams selected to keep the resource visible to everyone.
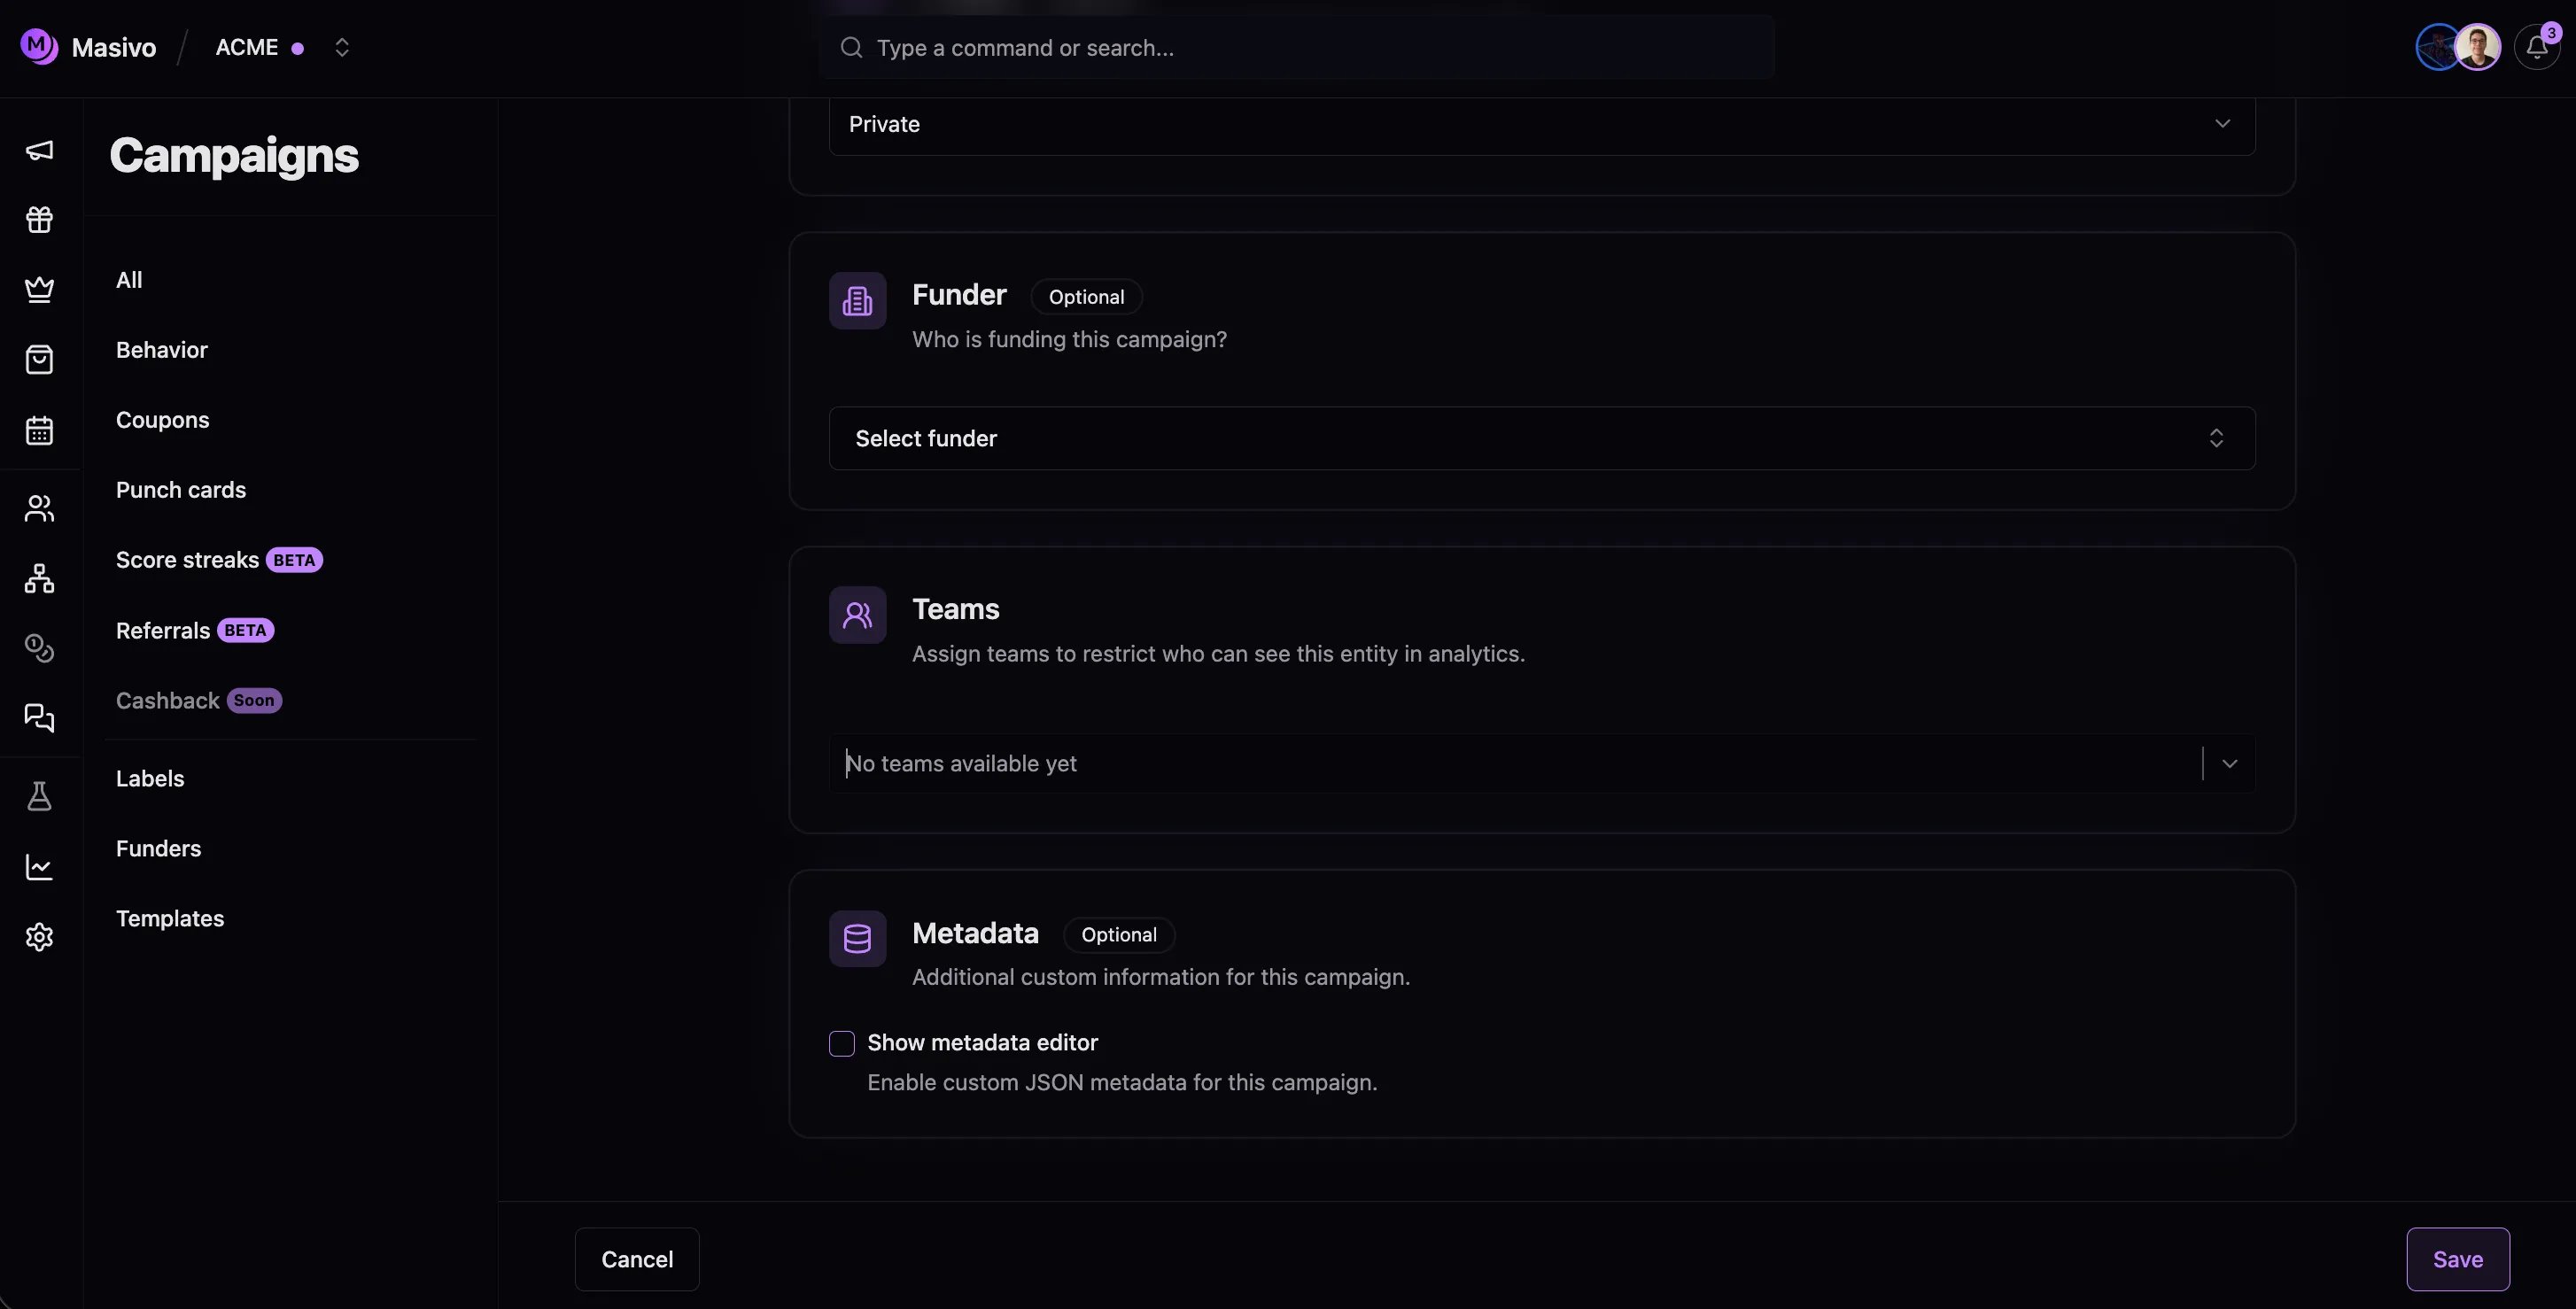
Team resource picker on a resource form
Assign people to an entity
Stores, brands, campaigns, journeys, rewards, and integrations have an optional Assigned people field. Open the create or edit form and select one or more members of the current account. For rewards, the field is in Advanced; for the other entities, it is in the basic settings. Save the form to record responsibility, or clear the selection to leave the entity unassigned. Assignments do not grant permissions, change team visibility, or inherit from a brand. Removing someone from the account also removes their assignments in that account. Tickets continue to use their existing assignees. The field is stored asassigned_user_ids, an array of user UUIDs that defaults
to []. Writes reject duplicate IDs and users from another account. Updates
that omit the field preserve existing assignments; sending [] clears them.
Invite a new member
- On Settings → Team → Members, click Invite member.
- Enter the email address. Masivo sends an invitation valid for 24 hours.
- After acceptance, assign a role and teams to the new member.