Your Journey to Unified Customer Identity
Imagine Sarah, a customer who visits your website on her laptop, signs up for your newsletter on her phone, and makes a purchase using her tablet. Without Identity Resolution, these would appear as three different customers in your system. But with Masivo’s Identity Resolution, you can connect these interactions to see Sarah’s complete journey.Before You Begin
Let’s make sure you’re ready to start connecting your customer data:- Access granted: You have the right permissions to configure identity rules
- Data flowing: Your customer data is already coming into Masivo from your website, app, or other sources
- Fields identified: You know which customer information (like email or phone) you want to use for matching
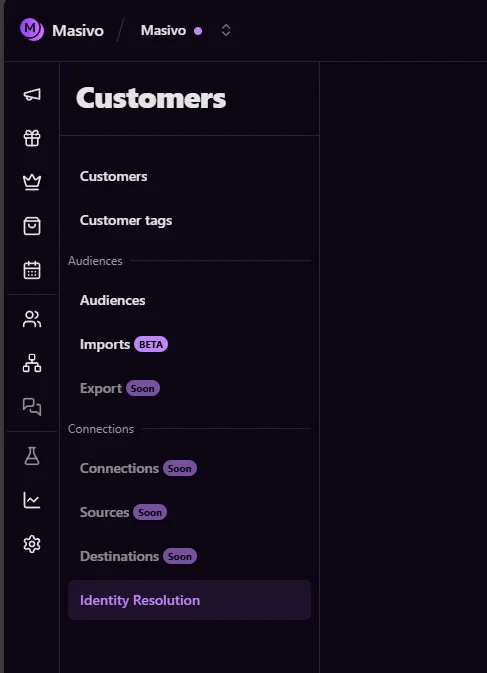
Finding Identity Resolution
Your unified customer view is just a few clicks away:- Open your Customers section in the Masivo dashboard
- Look for Identity Resolution in the side menu
- Click to enter your identity management center
Your First Look at Identity Resolution
When you first arrive, you’ll see something powerful yet simple: your Default Identity Resolution section. Think of this as your foundation - the basic rules that help Masivo recognize when different customer records actually belong to the same person.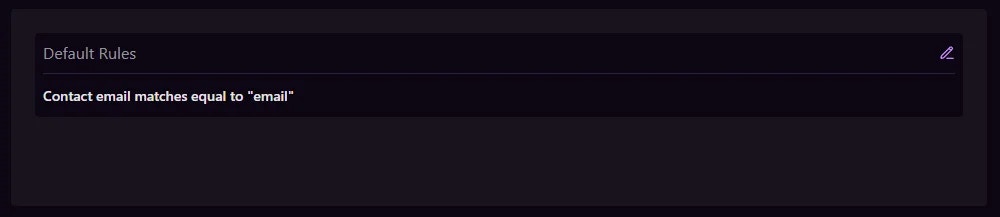
What You’re Seeing
The default rule you see is already working behind the scenes across ALL your connected data sources. Every Masivo account comes with this rule pre-configured, and it automatically applies to every integration you have - your website, mobile app, CRM, email platform, and any other system sending customer data to Masivo. “Sources” - This rule looks for email fields in your customer data and uses them to connect related records, no matter which system they came from.The Power of Universal Coverage
Here’s what makes this special: you don’t need to set up separate rules for each of your data sources. Whether Sarah signs up on your website, downloads your mobile app, or contacts your support team, the same identity matching logic works across all these touchpoints automatically.Why This Matters
Every time a customer interacts with your brand:- Signs up with their email on your website
- Makes a purchase through your mobile app
- Contacts support via your CRM system
- Downloads content from your email campaigns
One Rule, All Sources
Think of it this way: instead of having to create separate matching rules for your website, mobile app, CRM, email platform, and other integrations, you have one powerful rule that covers everything. This means:- Instant setup: Your identity resolution starts working the moment you connect any data source
- Consistent matching: The same logic applies whether data comes from your website or your mobile app
- No gaps: Every customer touchpoint is covered automatically
- Simplified management: One rule to understand and customize, not dozens
Understanding Your Customer Data
Let’s continue with Sarah’s story. As her interactions grow with your brand, you might notice patterns in your data:- Sometimes she uses “Sarah.Johnson@email.com” for business inquiries
- Other times “sarah.johnson@email.com” for personal purchases
- Her phone number appears in different formats: “+1-555-123-4567” vs “(555) 123-4567”
Making Sense of the Variations
This is where Identity Resolution becomes your detective. The default rules are smart enough to recognize these variations as the same person, but sometimes you might want to customize how matching works.Customizing Your Identity Rules
When You Might Want to Edit Rules
Think about editing your default rules when:- You have customers who use multiple email addresses
- Your data comes in different formats from various sources
- You want to match on phone numbers or other identifiers
- You need more precise or more flexible matching
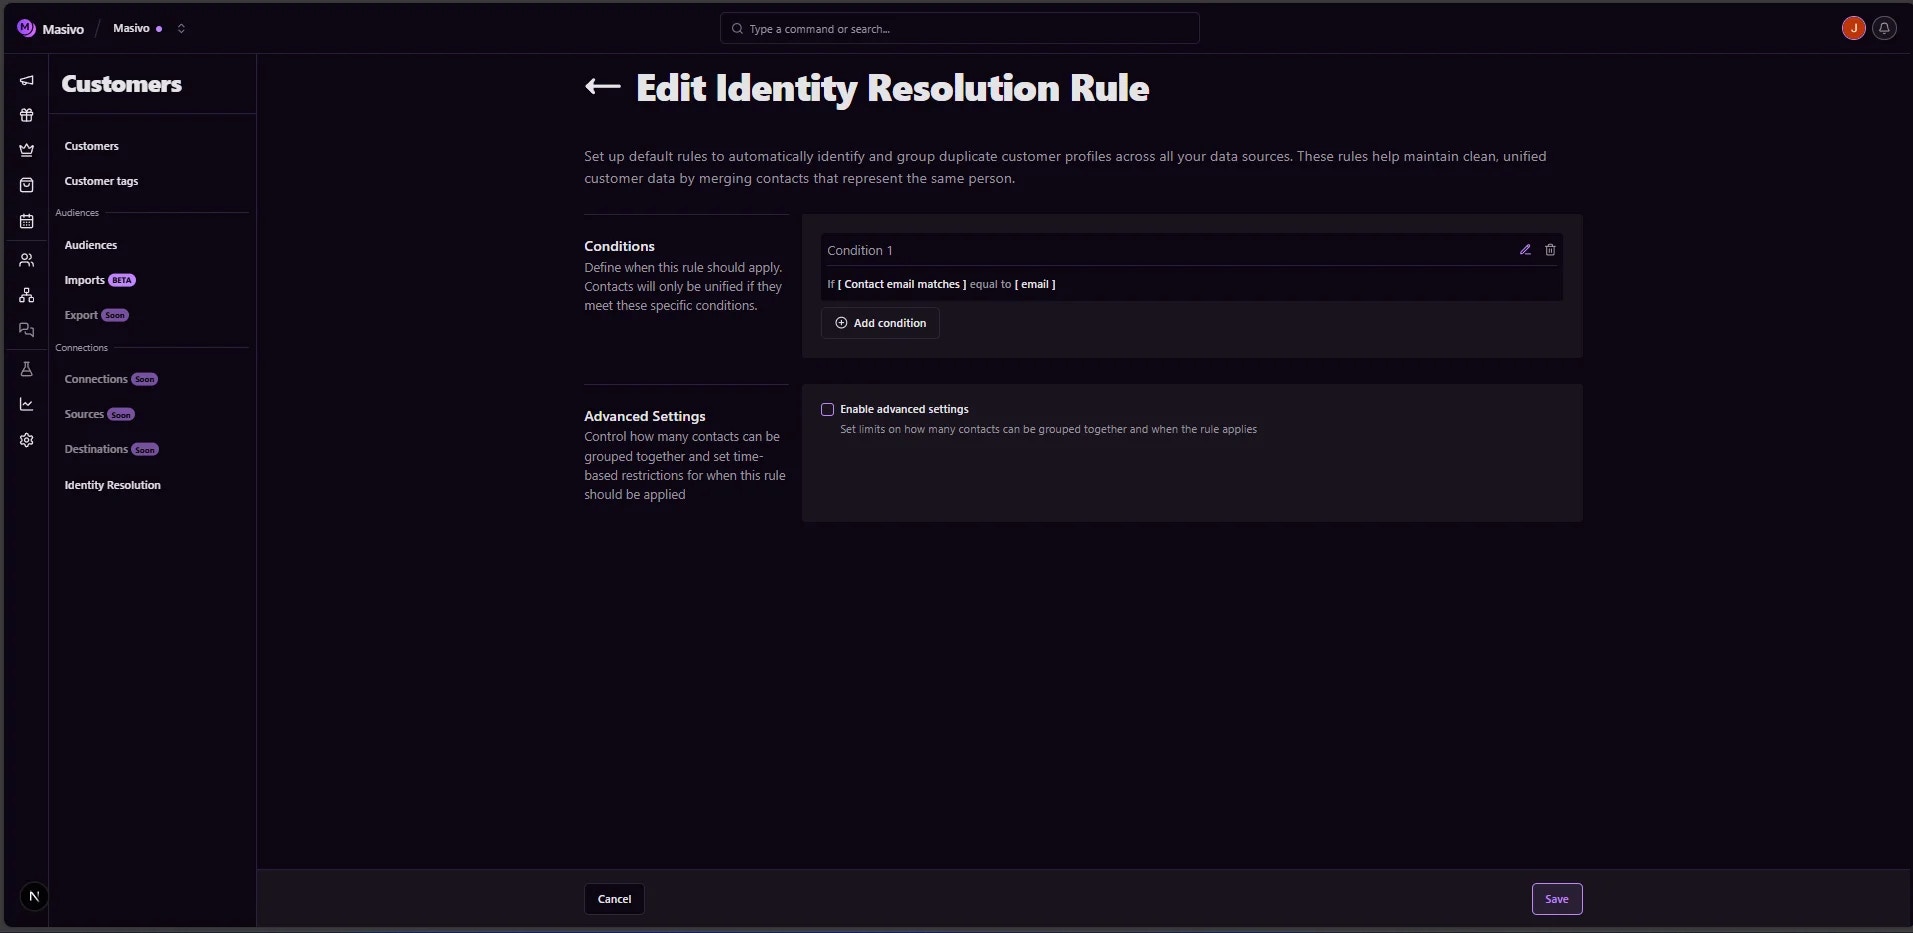
How to Edit Your Rules
Ready to make your rules work better for your specific data? Here’s how:- Click “Edit” on your default rule
- Add conditions - Maybe you want to match on phone numbers too
- Choose your logic - Should it be email OR phone (more flexible) or email AND phone (more precise)?
- Consider advanced options - Need time limits or group size controls?
- Save your changes - Your new rules start working immediately
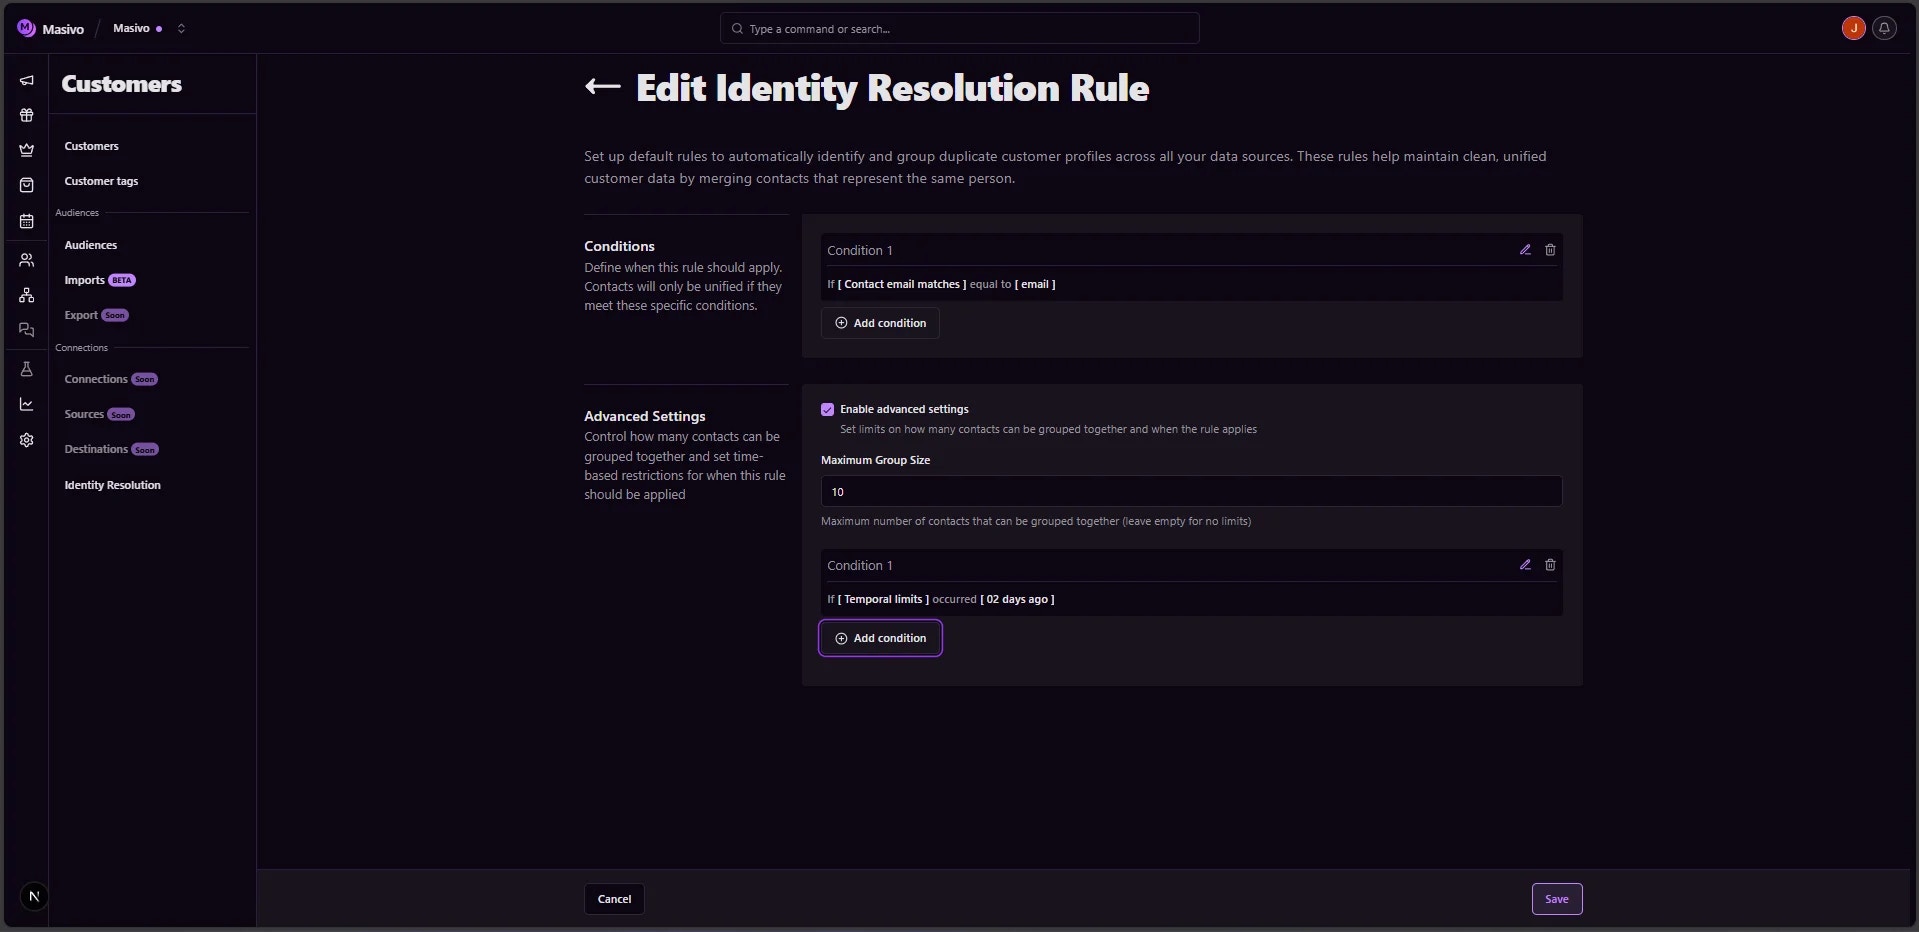
Advanced Options (When You Need More Control)
For businesses with specific matching needs, you can enable advanced settings: Smart Protections:- Maximum Group Size: Set a limit (like 5 or 10) to prevent too many profiles from accidentally merging together
- Time Windows: Only match customers who interacted recently (like “in the last 30 days”)
- You have customers with common names (like “John Smith”)
- Your business is seasonal or event-based
- You want extra precision to avoid mixing up different customers
- You’re dealing with large volumes of customer data
- Check “Enable advanced settings” when editing a rule
- Set your maximum group size (start with 10, adjust based on your needs)
- Add time limits if your business has seasonal patterns
- Test with a small group before applying to all customers
Real-World Example: The Busy Restaurant Chain
FoodieChain noticed they were accidentally merging different customers named “Maria Garcia” who used the same phone number format. Here’s how they fixed it:- Enabled advanced settings
- Set maximum group size to 3 (prevents over-merging)
- Added temporal limit: “occurred in the last 90 days” (seasonal menu changes)
- Required both email AND phone to match (more precise)
Seeing Your Rules in Action
What Good Rules Look Like
Your rules will show up in plain English, making them easy to understand:- “Email field contains ‘email’” (matches any record with an email)
- “Email field contains ‘sarah’ AND Phone field equals ‘+15551234567’” (matches Sarah specifically)
- “Email field contains ‘gmail.com’ OR Phone field equals ‘+15551234567’” (matches Gmail users or that specific phone)
The Magic Happens Automatically
Once your rules are set up, they work behind the scenes. Every new customer interaction gets checked against your rules, and if it matches an existing customer, their profile gets updated with the new information.Growing Your Identity Strategy
Start Simple, Get Sophisticated
The beauty of Identity Resolution is that you can start simple and grow more sophisticated over time:- Week 1: Use the default email matching (you’re already here!)
- Week 2: Add phone number matching for mobile customers
- Month 1: Create more specific rules for different customer types
- Month 3: Fine-tune your matching to reduce false positives
Signs Your Rules Are Working
You’ll know your Identity Resolution is successful when:- Customer profiles become richer with more complete data
- You see fewer duplicate customers in your system
- Your marketing campaigns become more effective with better targeting
- Customer service has a complete view of each customer’s history