What you’ll learn
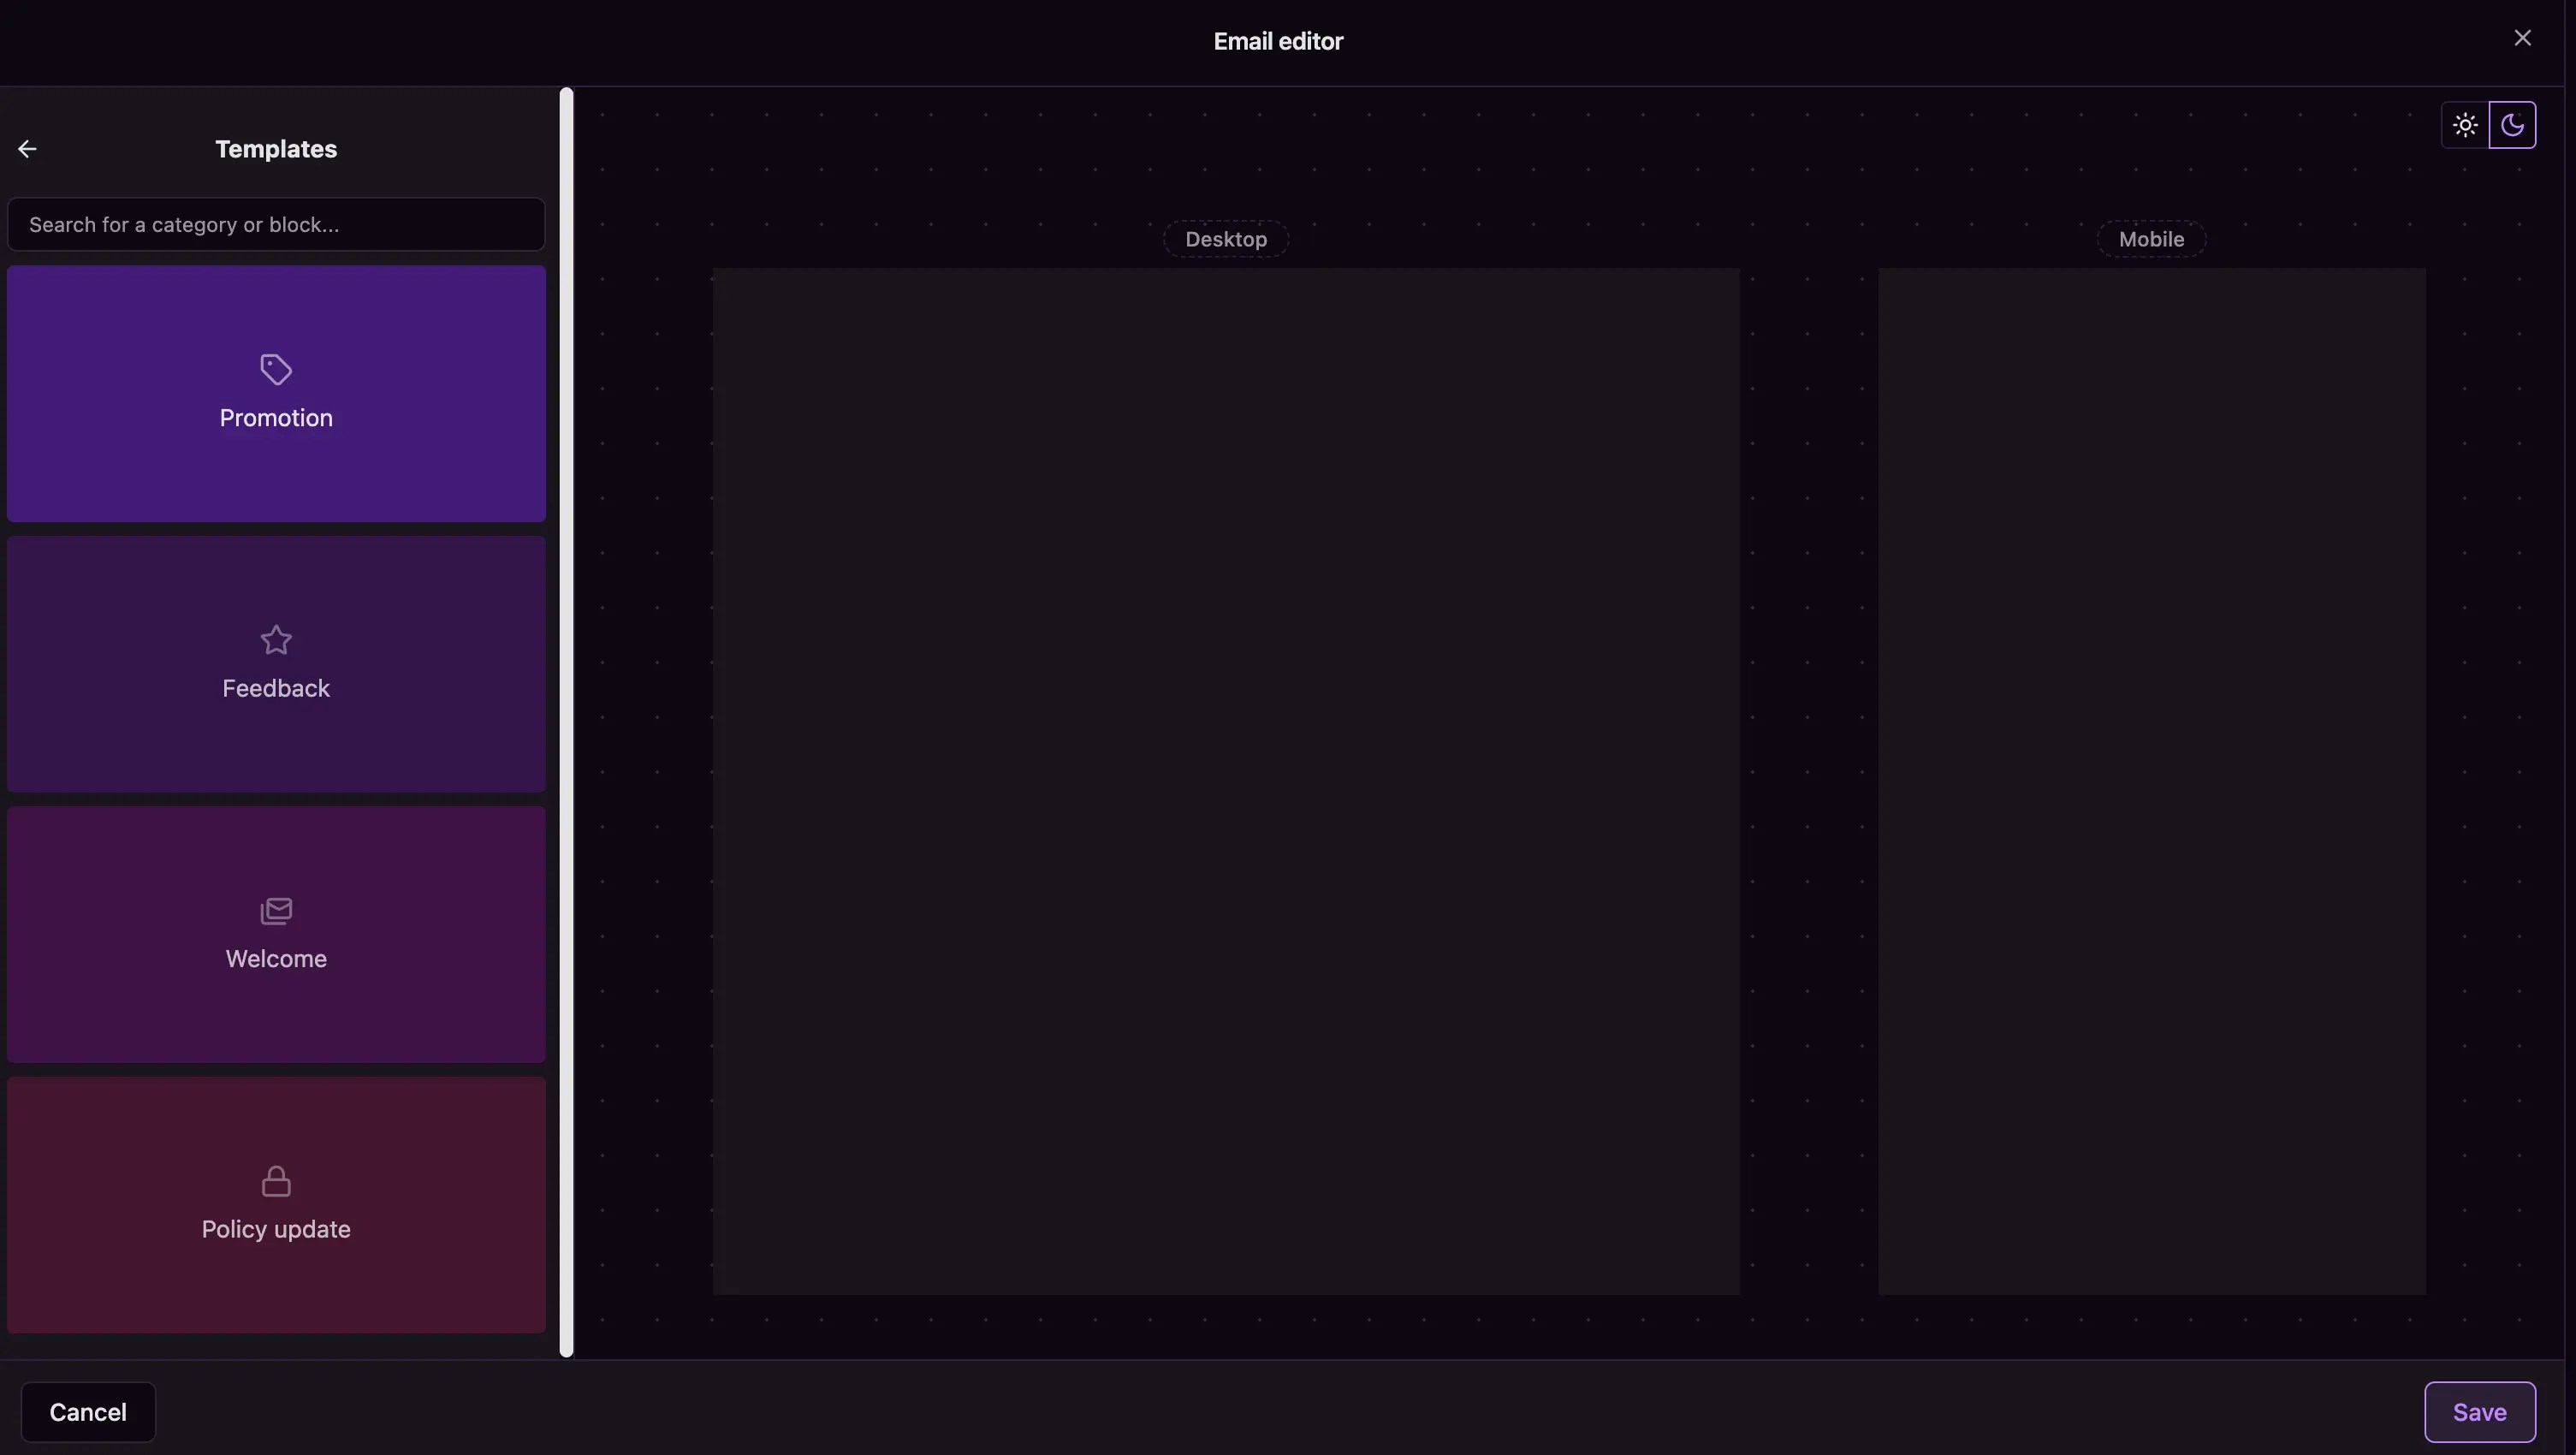
By the end of this guide, you’ll know how to create professional email templates that convert customers and integrate seamlessly with your automated marketing workflows.Step 1: Access the email templates section
Navigate to Marketing Automation > Email templates in your dashboard. This is where you’ll manage all your reusable email designs. Click the New email template button to start creating your first template.Step 2: Configure your template foundation
Start by setting up the basic information that will help you organize and identify your template: Choose a descriptive name: Use names like “Welcome Series - Email 1” or “Black Friday Promotion” instead of generic names. This makes templates easier to find later. Add a helpful description: Write a brief note about when and why you’ll use this template. For example: “Sent to new customers 24 hours after registration.” Select the right brand: Choose which brand this template represents. This ensures consistent styling and helps organize templates across multiple brands.Step 3: Build your email content
Now comes the creative part - designing your email using the visual editor.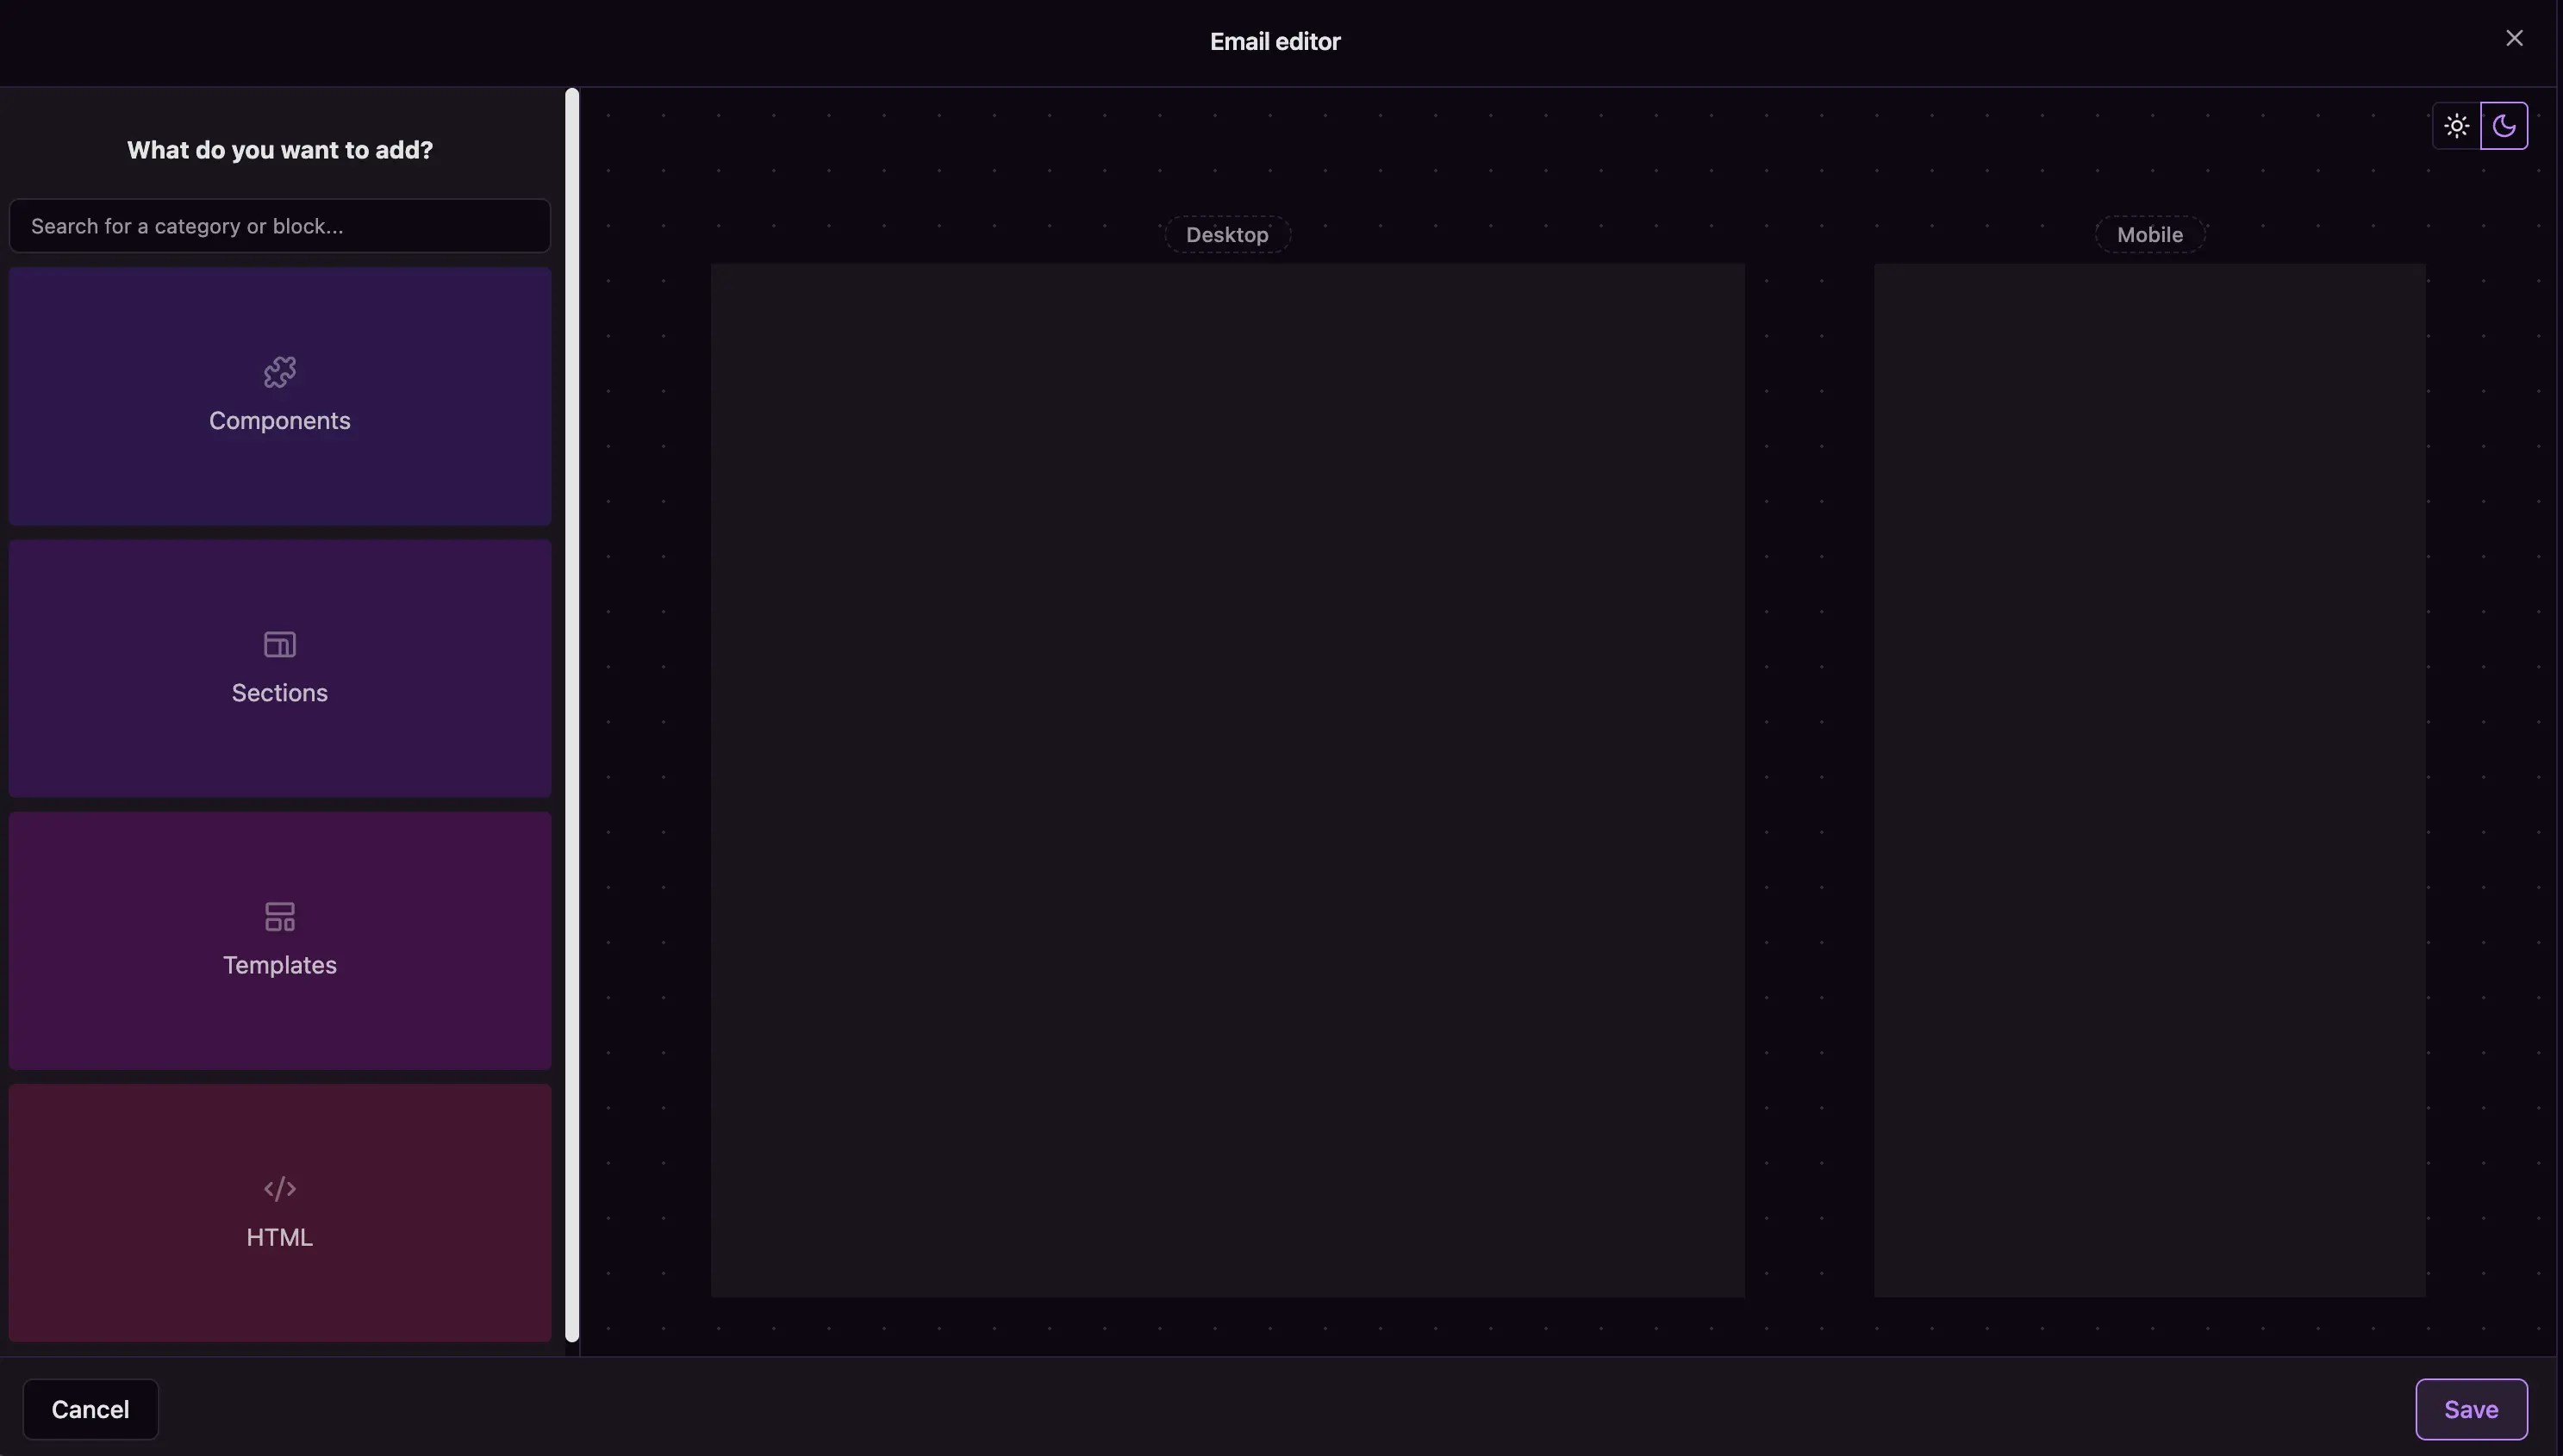
Start with structure
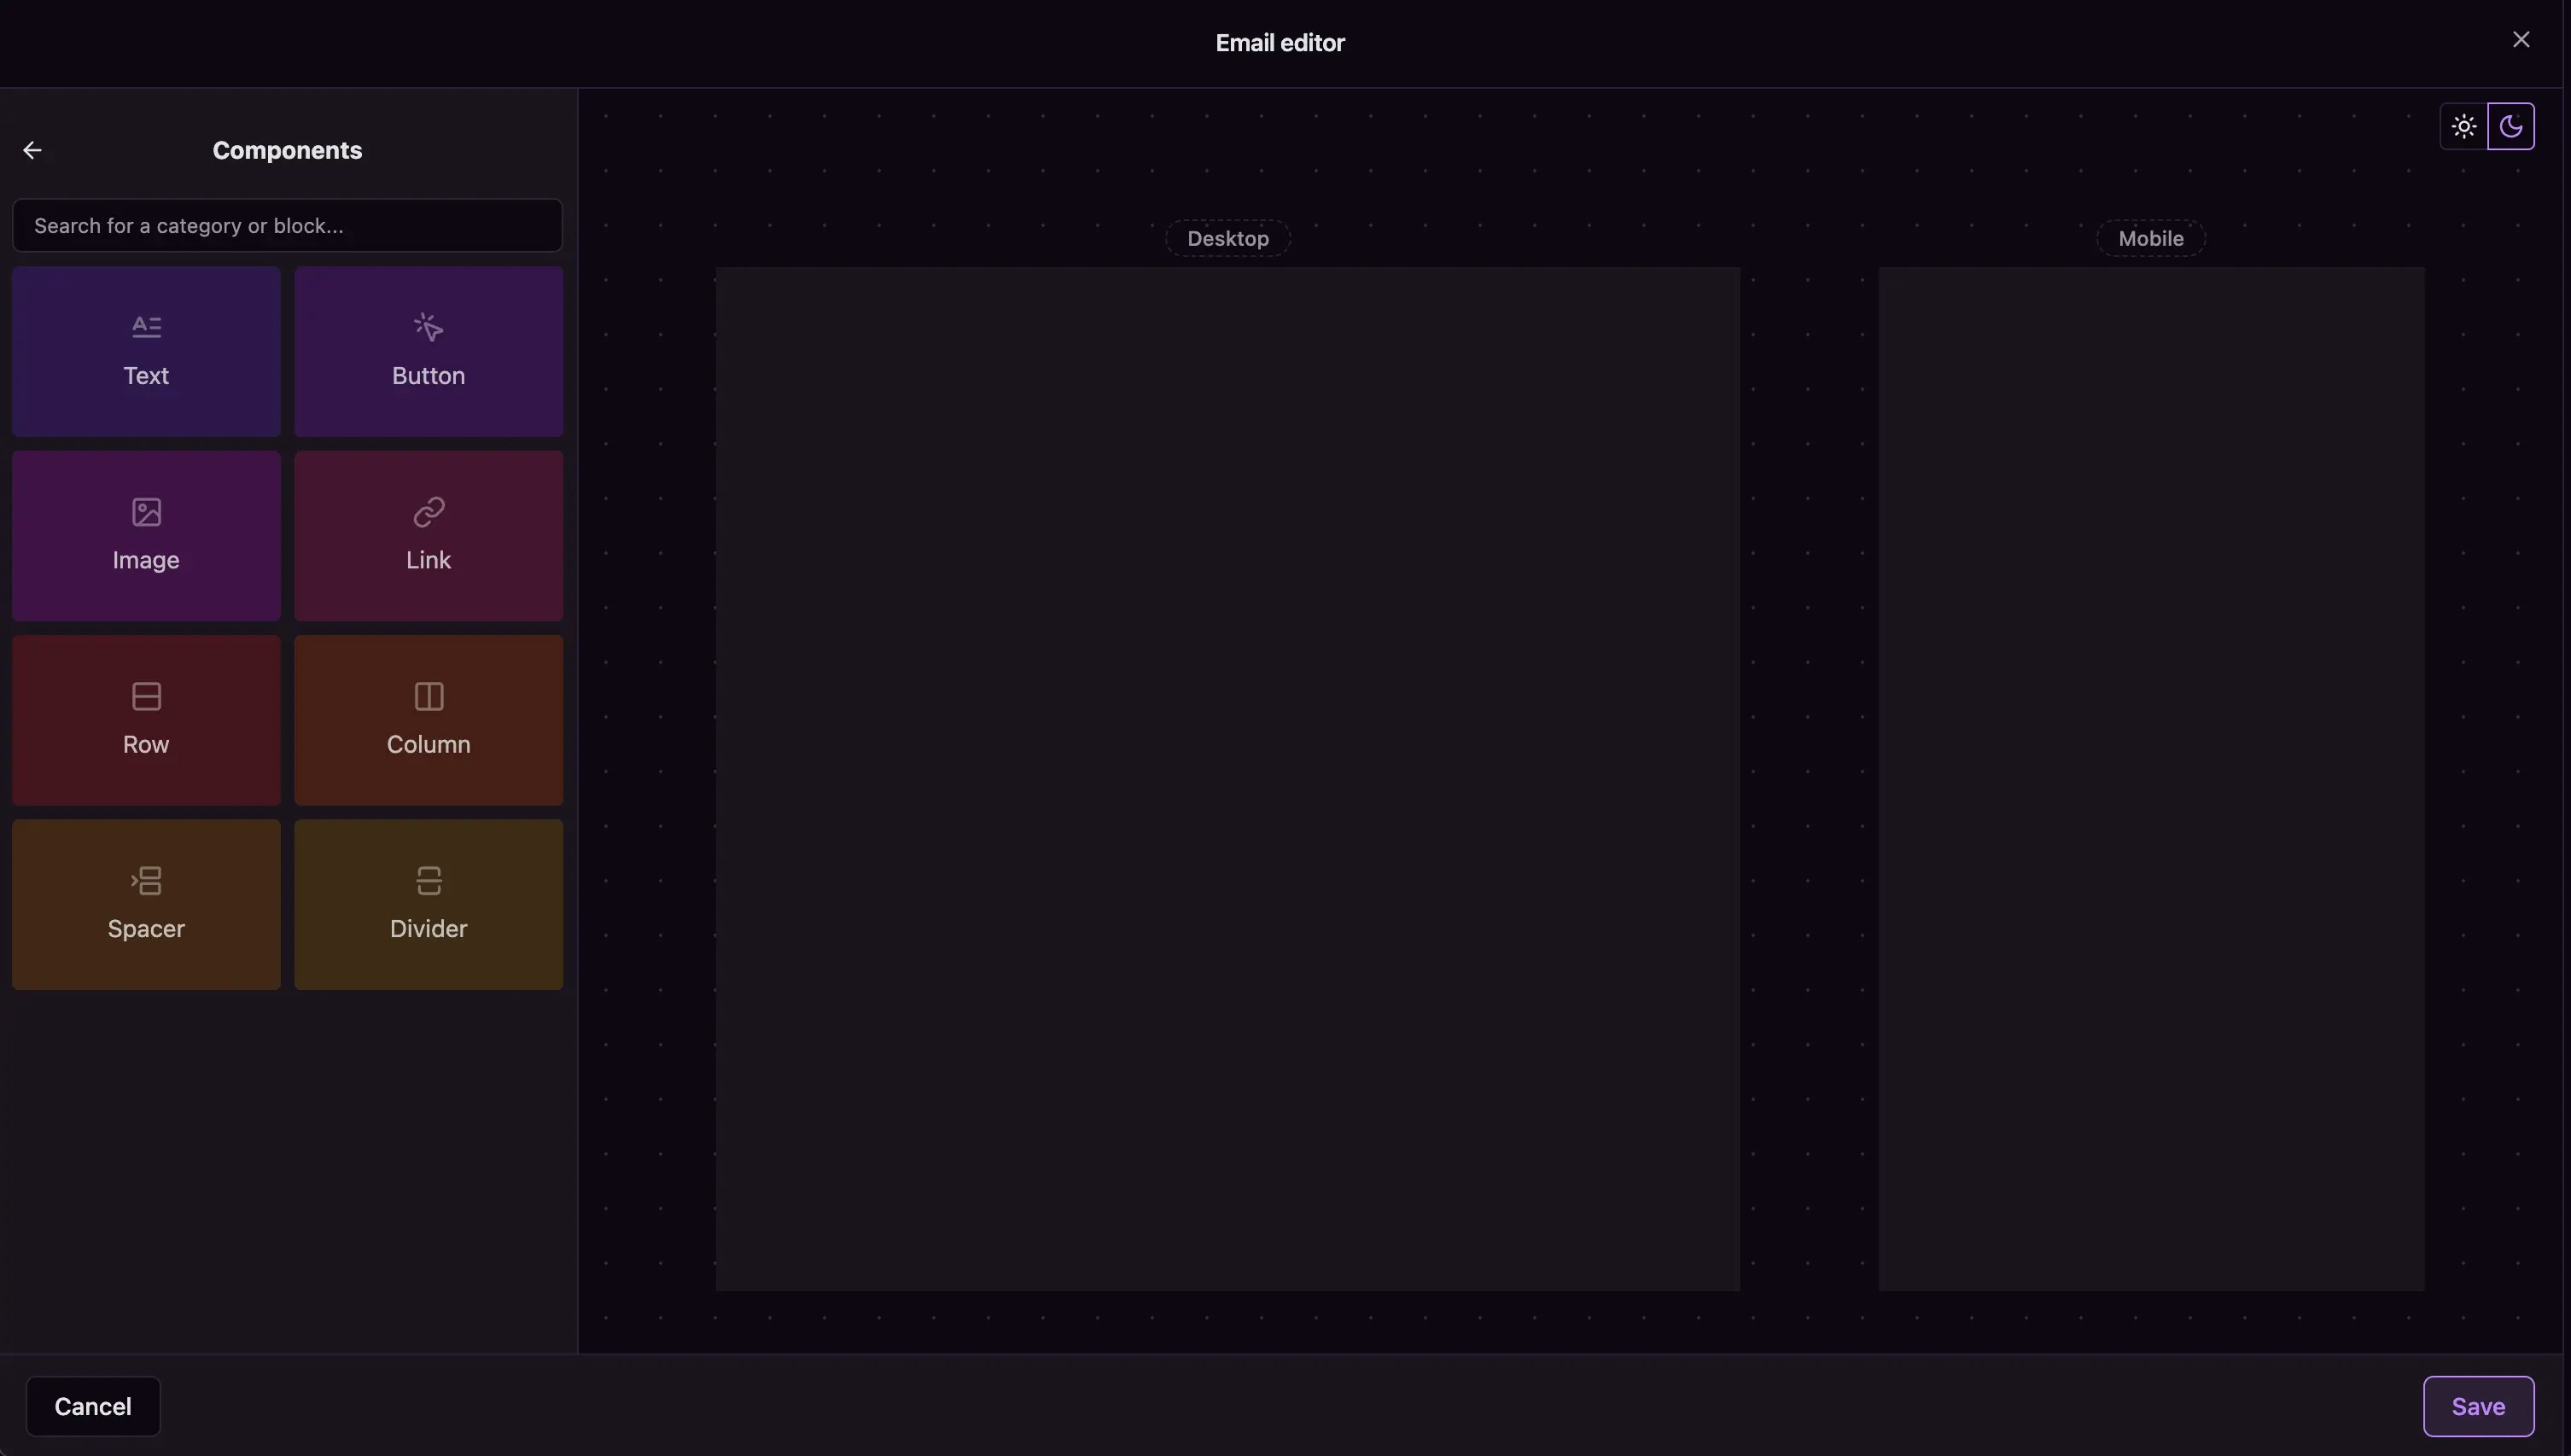
Before adding content, plan your email layout:- Add a Row from the Components panel to create your first section
- Insert Columns within the row to organize content side-by-side
- Use Spacers between sections to create visual breathing room
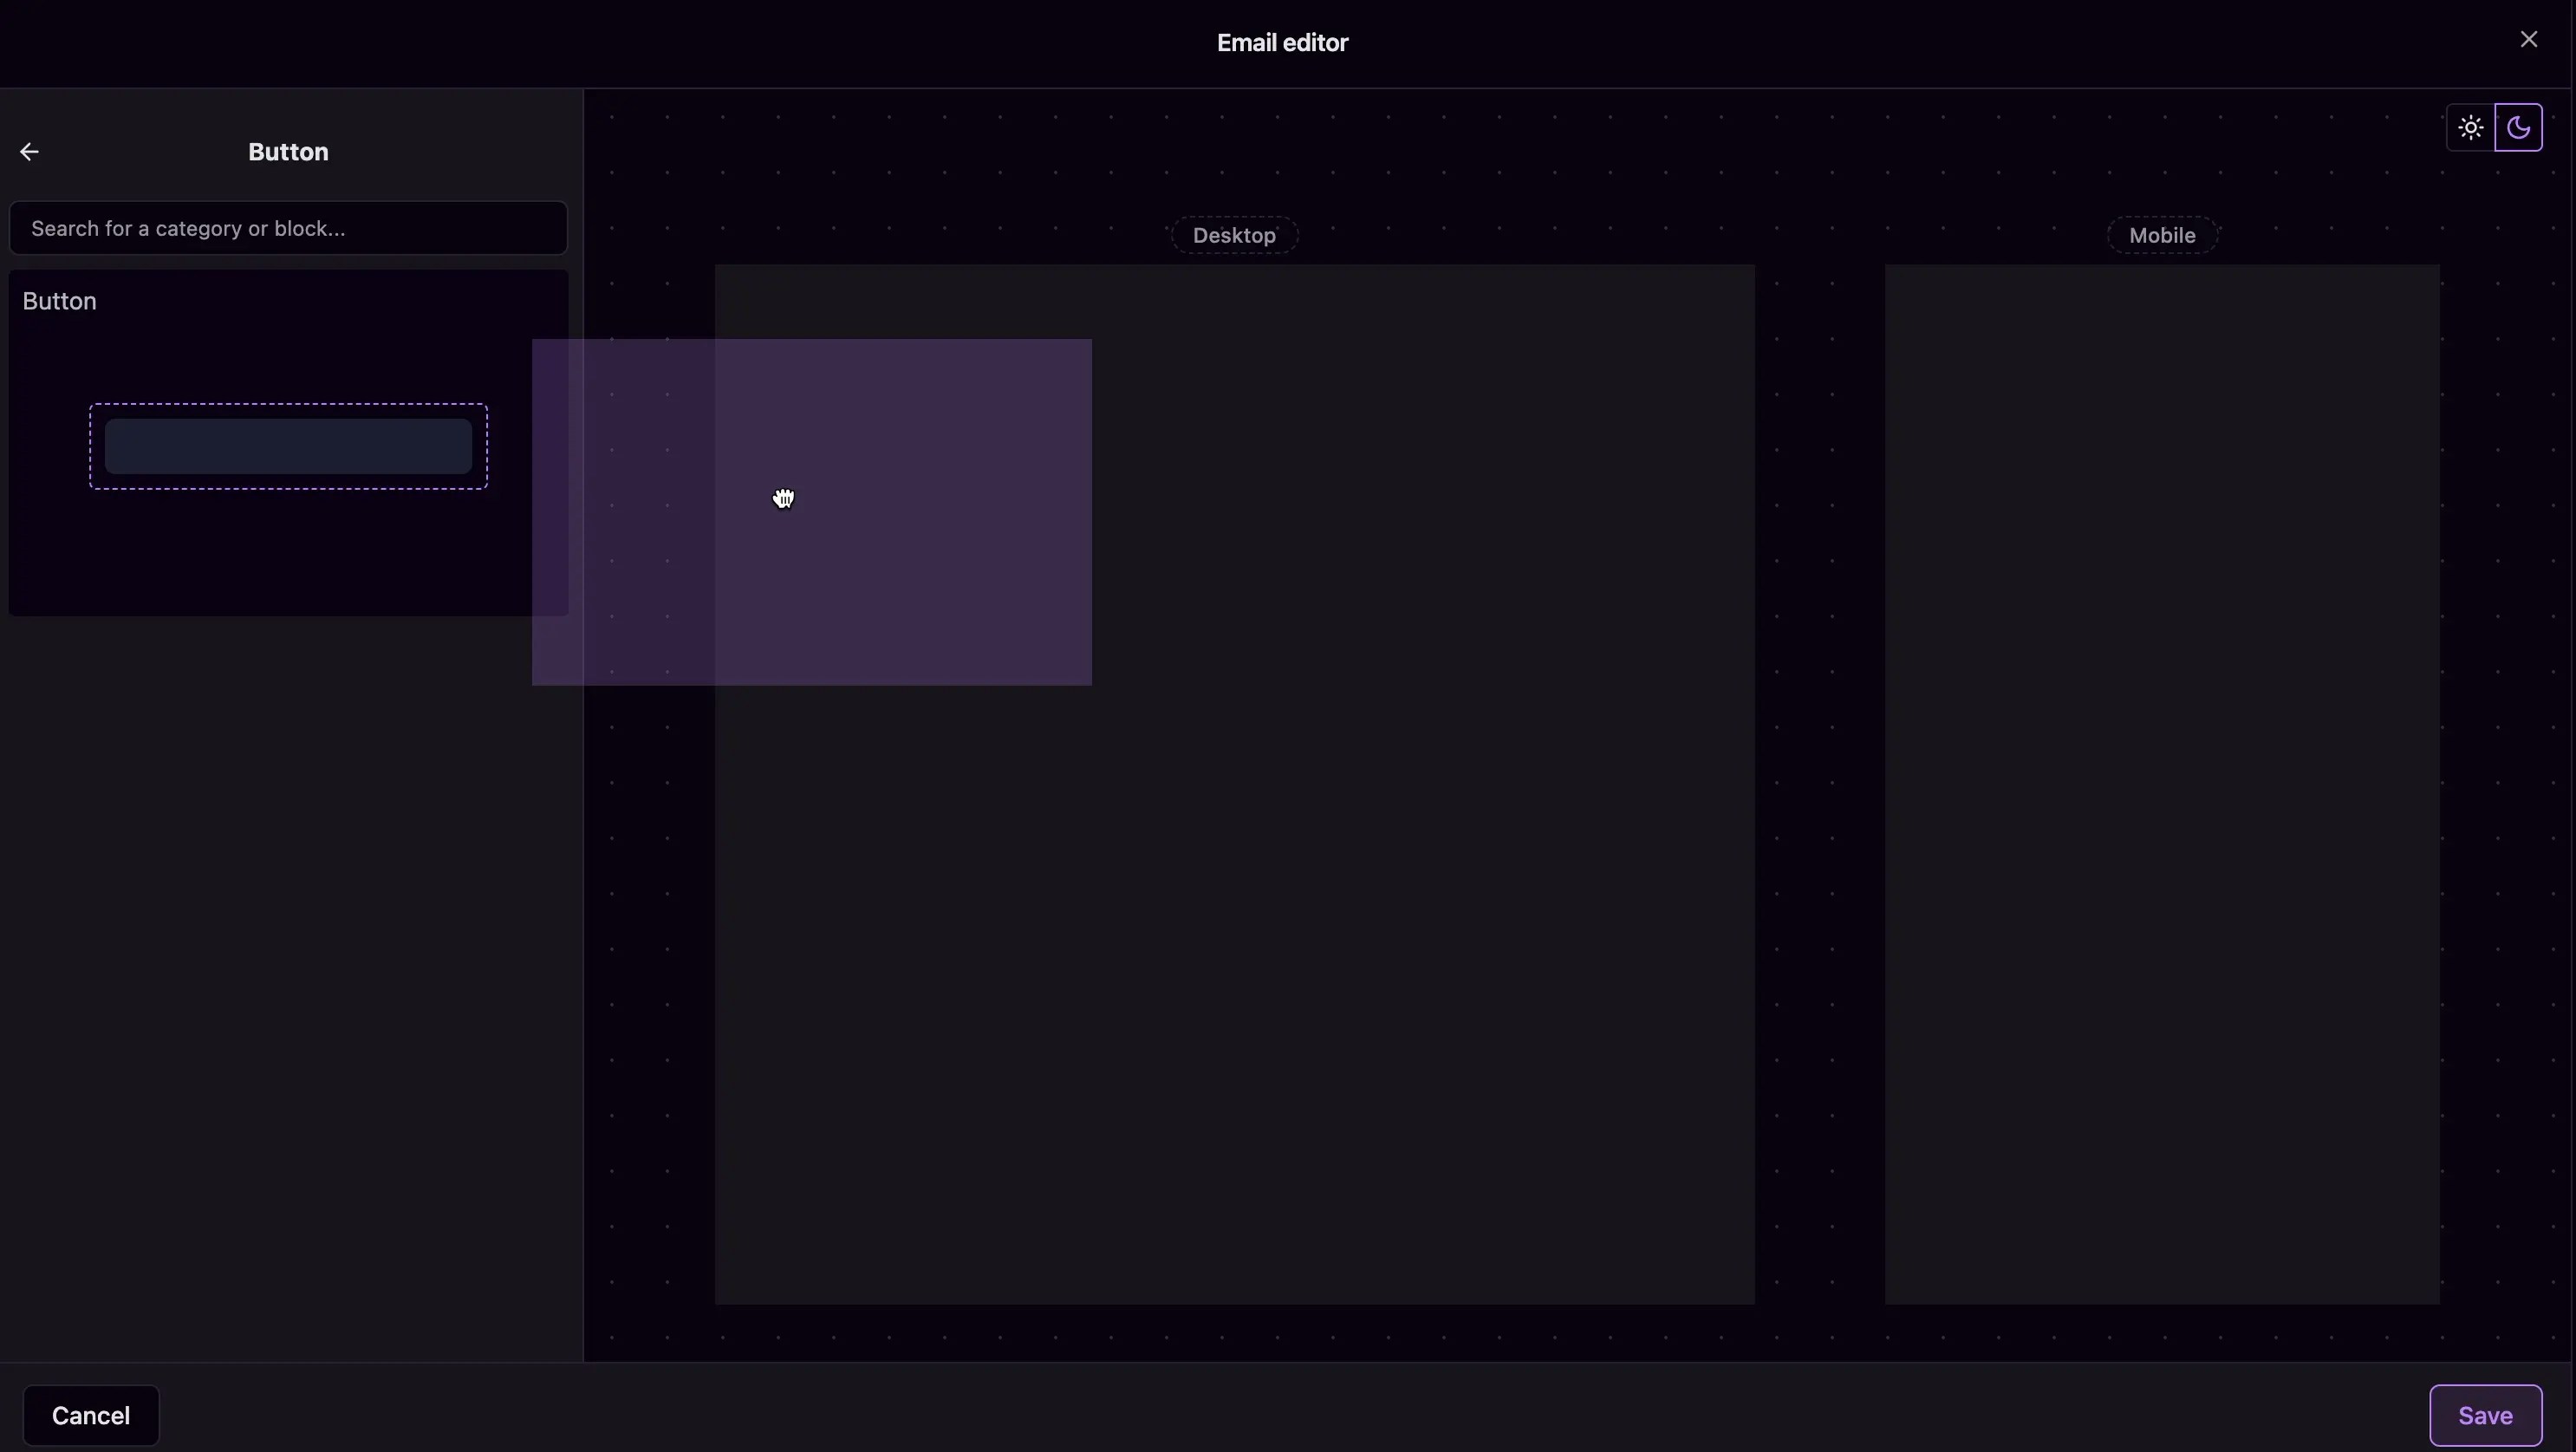
Add compelling content
Use pre-built sections for speed
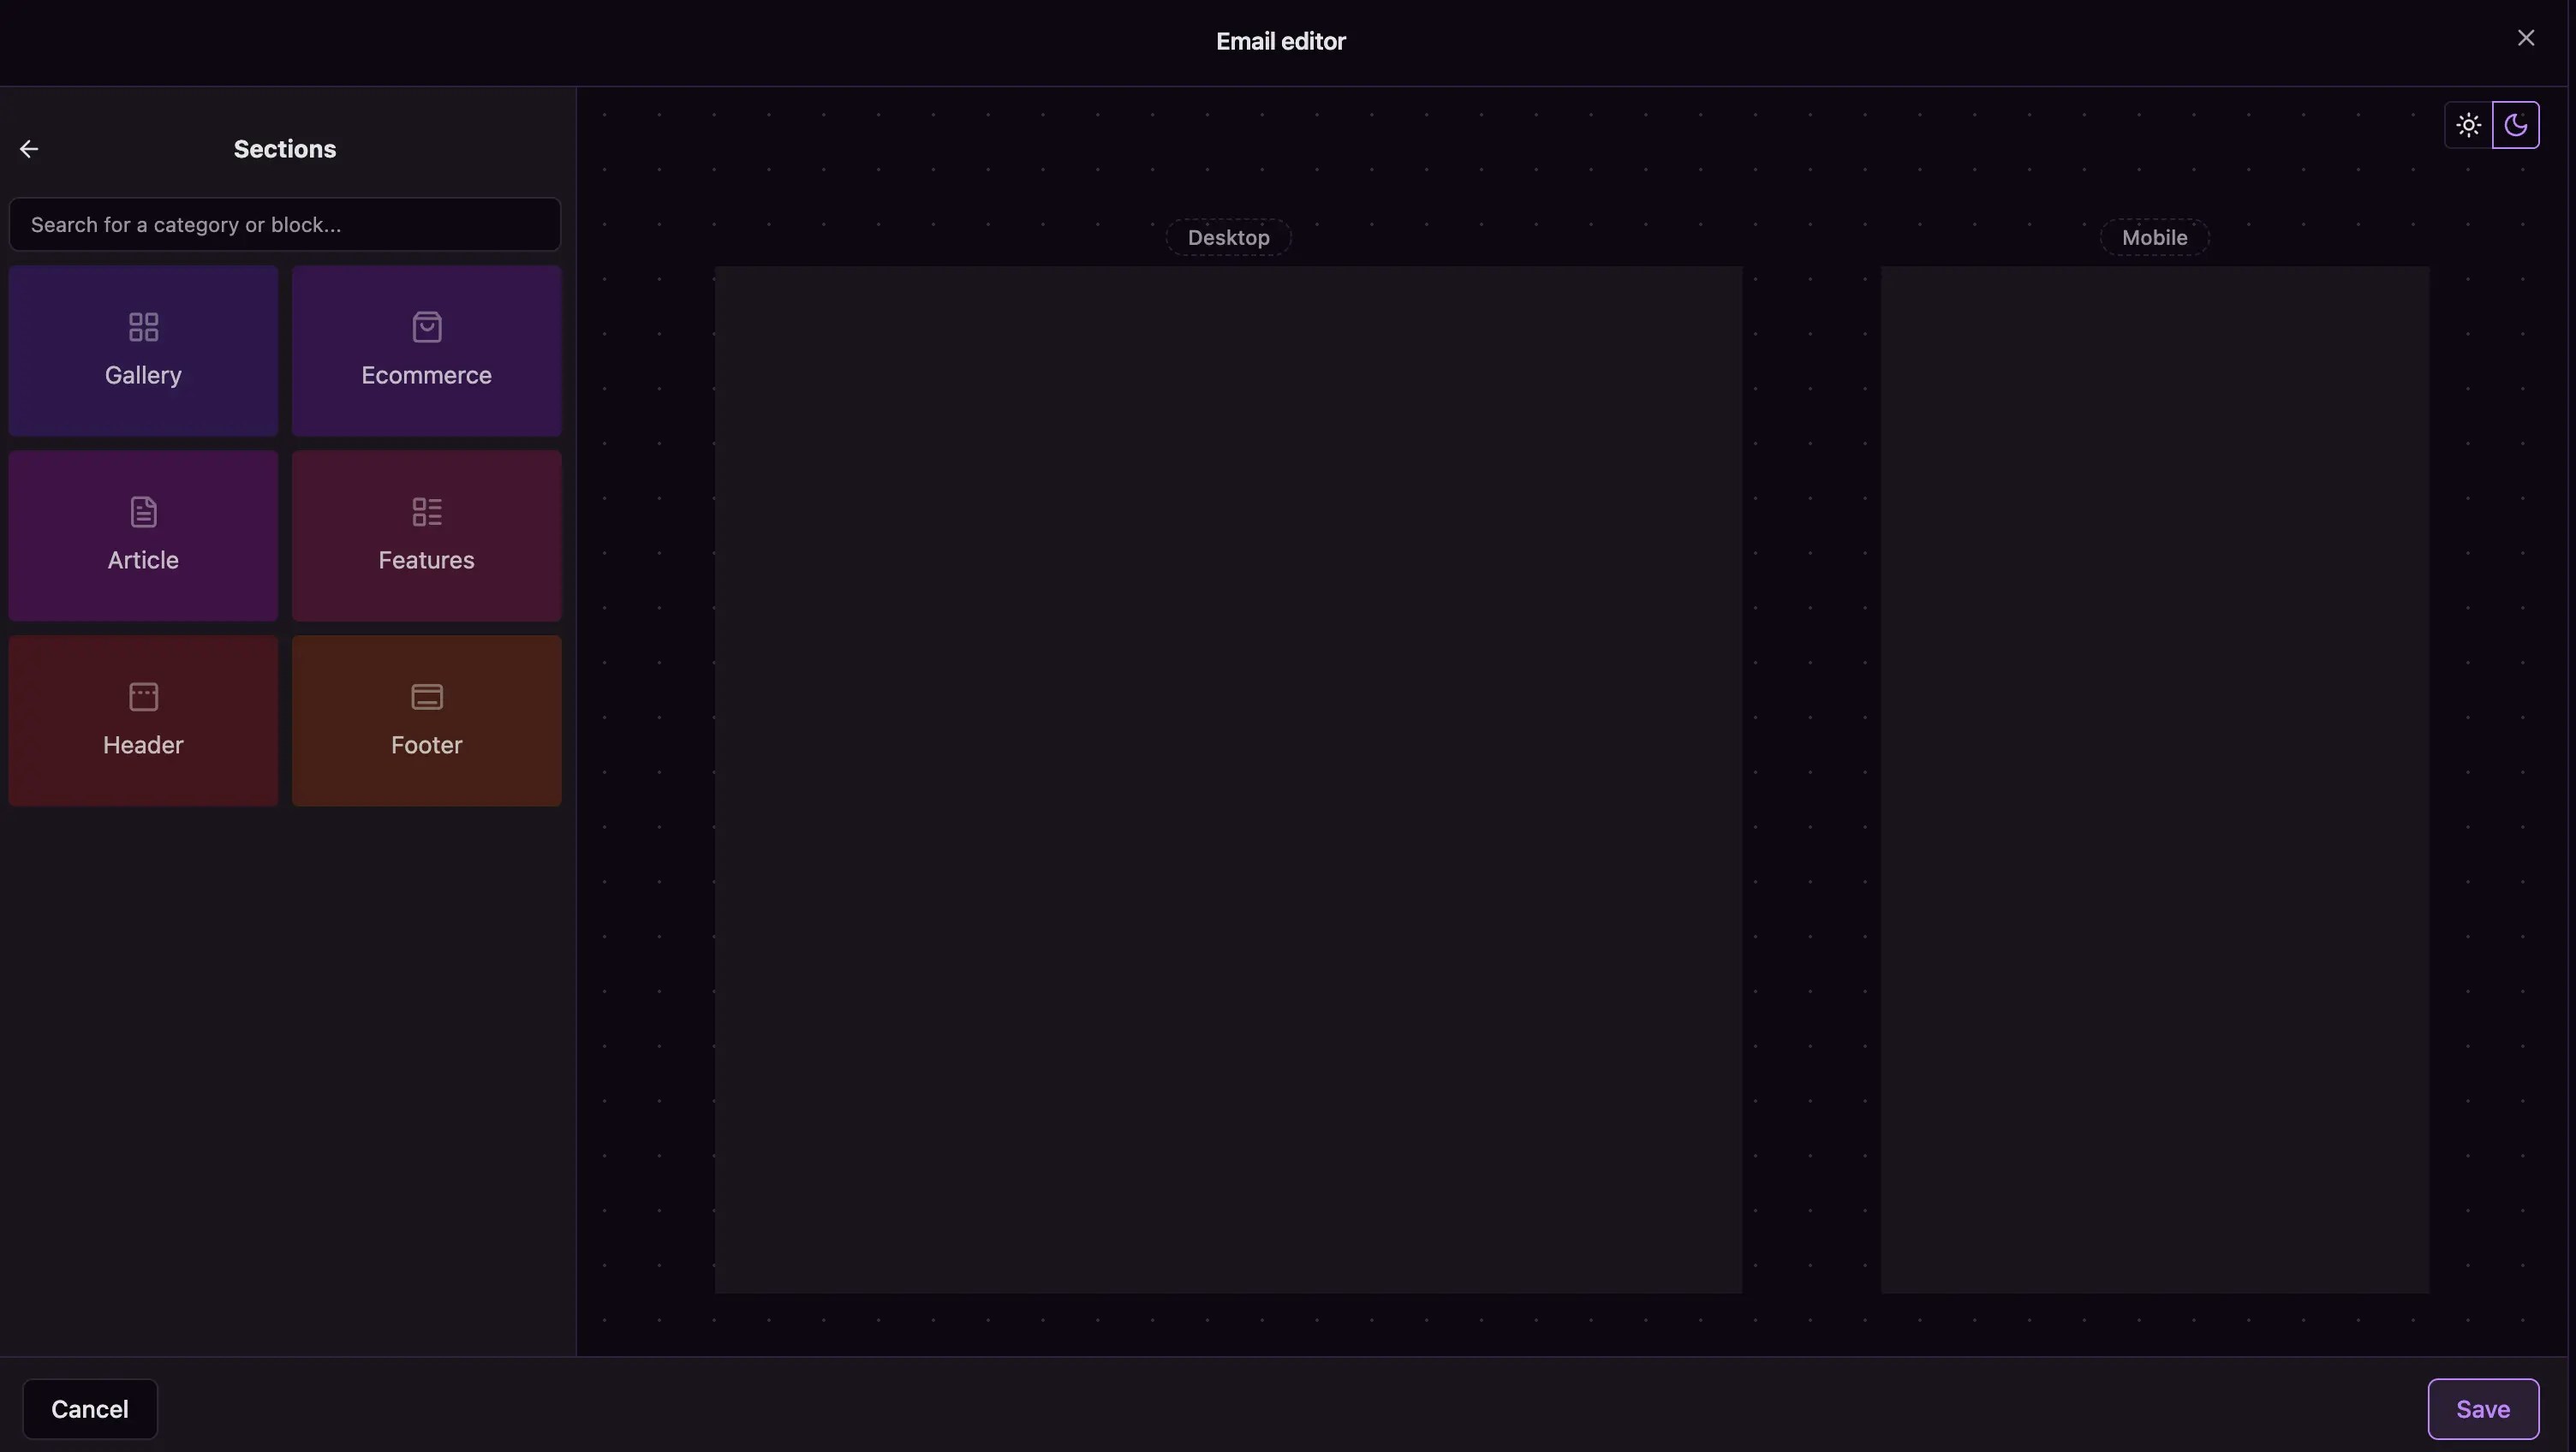
Start with proven templates
Step 4: Optimize for all devices
Use the preview toggles to check how your email looks on:- Desktop: Ensure your layout works on wide screens
- Mobile: Verify text is readable and buttons are easily tappable
Step 5: Add advanced customization (optional)
For specific requirements, use the Custom HTML option to add:- Advanced styling
- Custom fonts
- Interactive elements
- Tracking pixels
Step 6: Test and deploy your template
Before using your template in campaigns, it’s important to test and understand its reach:Send test emails
Test your template to ensure it displays correctly across different email clients: Use the test function: Click the Send test button in your template actions to send a preview to your test audience. Test audience requirements: Your test group must have customers with valid email addresses. If your test audience is empty, you’ll need to add customers first. Review across devices: Test how your email appears on desktop, mobile, and tablet devices to ensure optimal display.Schedule email campaigns
Once your template is ready, you can schedule it for delivery: Schedule for later: Use the Schedule button to set up automated delivery at specific times. Choose your audience: Select which customer segment will receive your email campaign. Set timing: Pick the optimal time for your audience based on their behavior patterns and time zones.What you’ve accomplished
You’ve created a professional email template that maintains brand consistency,
engages customers effectively, and integrates seamlessly with your automated
marketing workflows. Your template is now ready for testing and deployment to
reach your customers at the right moments.
Next steps
Once your email campaigns are running, you can track their performance and export analytics data:- Configure channel settings: Review Email settings for domains, footer defaults, and tracking options
- View analytics: Navigate to Analytics > Emails to see delivery rates, opens, clicks, and conversions
- Export data: Learn how to export analytics tables to CSV for deeper analysis and reporting